
Hello again… I had the chance to travel to Michigan this past weekend for Stampin’ Up’s November Onstage event and sit with one of my team members from Indiana. The upcoming Mini (formerly “Occasions”) catalog and Sale-a-bration catalogs are amazing, and I can’t wait to start using the free product I got at the conference. 🙂 I’ll share posts and cards made with them soon. I have some pictures posted from OnStage on my Facebook business page, Constantly Creating / The Little Whatnot Shop. Check them out and give me a follow there too!

I enjoyed time with some in-law cousins after the conference, visiting Frankenmuth and playing card games at the house. During one of those evening games, I pulled a TV tray beside me and worked on my October Paper Pumpkin kit. (Always a multitasker when I can be!) And they were patient when I didn’t always immediately realize that it was my turn again, though I did try to watch…. (*insert facepalm, blush, and LOL faces here*)
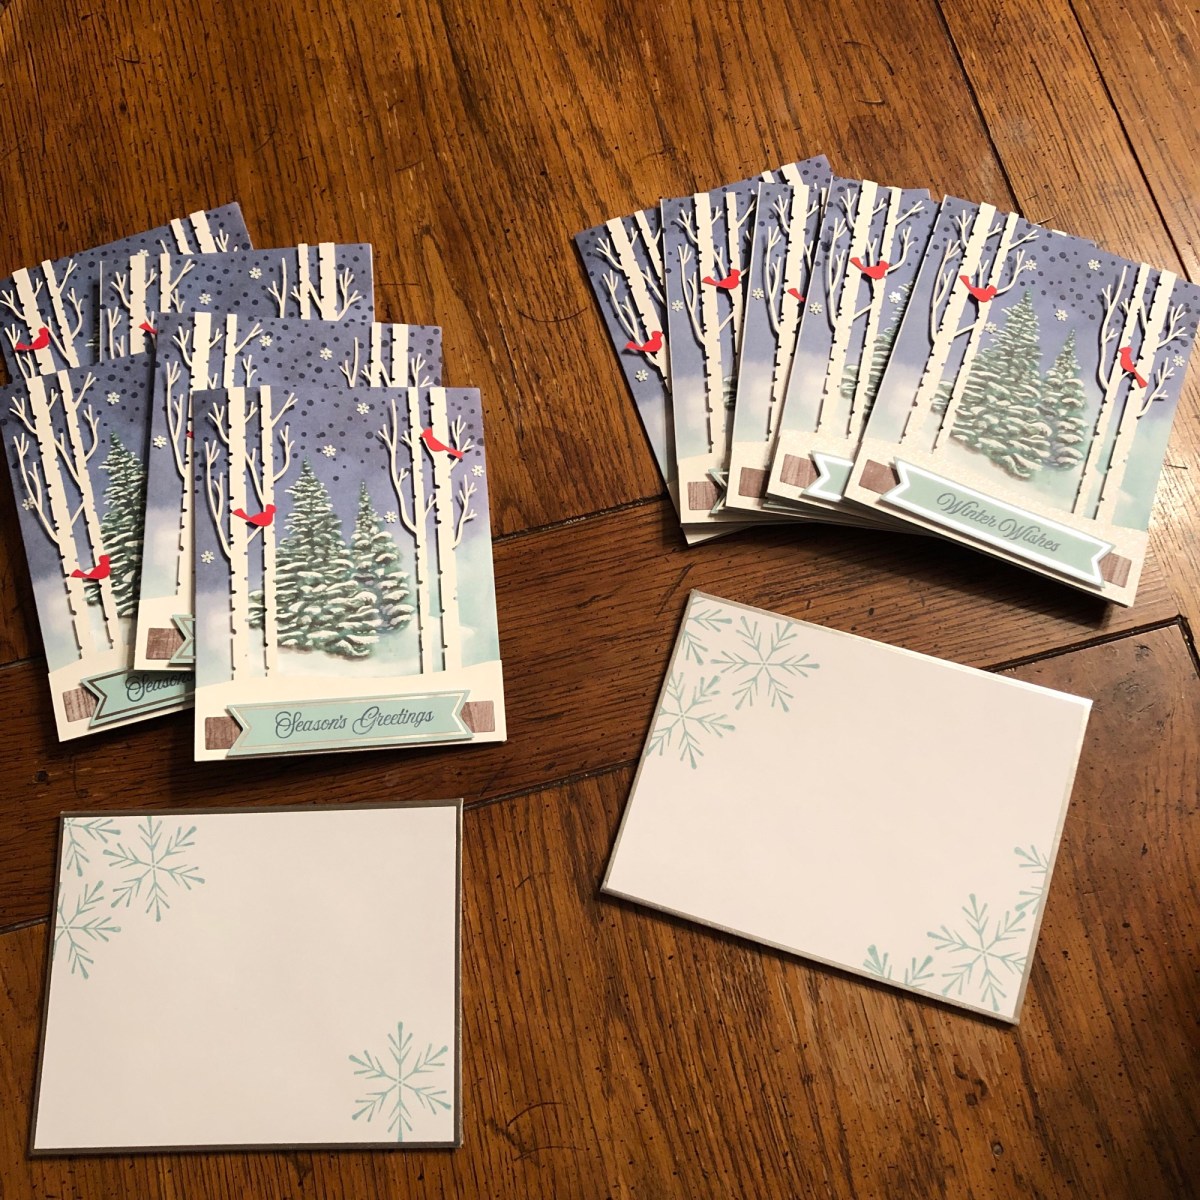
Anyway, all that to say that the Paper Pumpkin kits truly are easy and fun to do in a short stint of time. For this kit, I first creased all the card bases with my bone folder and then used the included stamp set to stamp the “snowfall” stamp across the top border above the trees in Night of Navy ink. I also stamped the two sentiments (“Season’s Greetings” and “Winter Wishes”) onto the Pool Party banners. (I carried my one-inch Stampin’ Spots with me in SU’s old clamshell cases and they worked perfectly!) Once the snowfall and banners were finished for all ten cards and I cleaned my stamps, I punched out the birch trees, cut the included Mini Dimensionals in half, and attached them first to the back of each piece and then to the card base. The trees pop up so beautifully! Then I used the included full-sized Glue Dots to adhere the brown wood-grain rectangle to the bottom of the trees, added full-sized Mini Dimensionals to the backs of the sentiment banners, and stuck them on top of the wood grain.

Halfway through I decided it would be easier to line up and stick the wood grain and sentiment banners to the trees before I attached all the cut Mini Dimensionals to the back of the birch papers—and it was, once I changed the order of doing things. 🙂 So do things in whichever order works best for you.
Then it was time to use the included Mini Glue Dots on the cardinals and tiny snowflake sequins that come with the kit. I just love these little details, and for me, this was the fun part. My snowflakes and birds are all in slightly different places, and that’s okay.
I decided to stamp the envelopes with the medium-sized snowflake stamp that comes with the sentiments, and I made two types of designs, to go with the two sentiments. The cards with the “Winter Wishes” sentiment have more snowflakes on the envelope than the “Season’s Greetings” ones. 🙂 The envelopes in the kit are edged with silver foil, which coordinates with the colors of the kit perfectly (Poppy Parade, Night of Navy, Pool Party, and Whisper White). I just tried to wipe off the ink from the foil edges in case any of it hadn’t dried by the time I got to that step.


I still have to stamp the insides of the cards, as it just got too late to finish, but other than that, I now have two more boxed sets to put in my local gift shop stash for the December delivery. Easy-peasy and done.
Paper Pumpkin is the perfect way to jump into the world of papercrafting and get your creative “me-time” every month. They’ve really been stepping up on the designs lately, and the kits are fun to make when I have a little bit of time. Next month’s kit just came in the mail too, and I’m taking them to Saturday’s craft fair as part of a make-and-take for fairgoers. They are tags in four designs that coordinate with these cards perfectly. We’ve also been told that December’s Paper Pumpkin kit consists of 12 cards and a stamp set of 13 sentiments. You can get this kit by subscribing through December 10.
If you’d like a kit of your own, just contact me or click on my direct shopping link over in the sidebar! Subscriptions come in 1, 3, 6, or 12 months ($22 for month-by-month, $21 for one month only, $63 for 3 months, $114 for 6 months, or $220 for 12 months, with savings on the last two categories for bulk buy). You can even earn Stampin’ Rewards on the 6- or 12-month subscriptions, and you gain access to past kits with any plan. They’re great as a gift for a crafter of any level or for your own enjoyment.
Thanks for visiting today!


Love that kit! The November kit is fantastic too! Glad that you enjoyed the event. 🙂
LikeLike
Thanks, Amy! I’m already scheming how to get another kit or refills – I have a friend who wants to buy at least one of the cards. 🙂
LikeLike