

Well, my first foray into using Stampin’ Up’s Embossing Paste was certainly interesting. It’s been sitting on my desk patiently waiting for me to get to it. I finally got the paint palette and palette knives, and I already had ink refills to tint it with, should the mood strike. This won’t be too hard, right? I thought. Hmm.
Tonight the mood struck, when I was permitting myself a little dabble time before attempting to go to bed at a reasonable hour (since I’m on book deadline again). I had a salt-and-pepper love-themed notecard I wanted to add some hearts to as a border, and I thought the thick embossing paste would show up better rather than ink of the same color on a stamp I was waffling on.
Well. Apparently I have to figure out how not to let it bleed underneath the stencil. That seems to be my main problem. I had washi-taped down the edges of the first stencil (and card), which was created from an edge punch, and even kept my hands on all of it as secondary security, but still I erred. The heart borders weren’t terrible, though I don’t like the smudges at the bottom. I think I went over them three times. And once the paper is smudged with the color, it’s definitely hard to remove it.
 I forgot to mention that I had put a little bit (probably too much) with my palette knife into my paint palette and added a drop – and then two drops – of Sweet Sugarplum ink refill (SU, current product, In-Color). I’m going to guess that one drop is enough. I was trying to match the color of the SU heart enamel shapes because I already had one on the card. Two drops definitely made it darker. So then I thought maybe I should add more paste to spread out the color more and make it the lighter shade I was going for. That meant there was a whole lot of embossing paste in my palette tray, more than six hearts would require. And mixing all that with my metal paint palette was difficult and sounded like scratches on a chalkboard. Perhaps a foam board or toothpick next time.
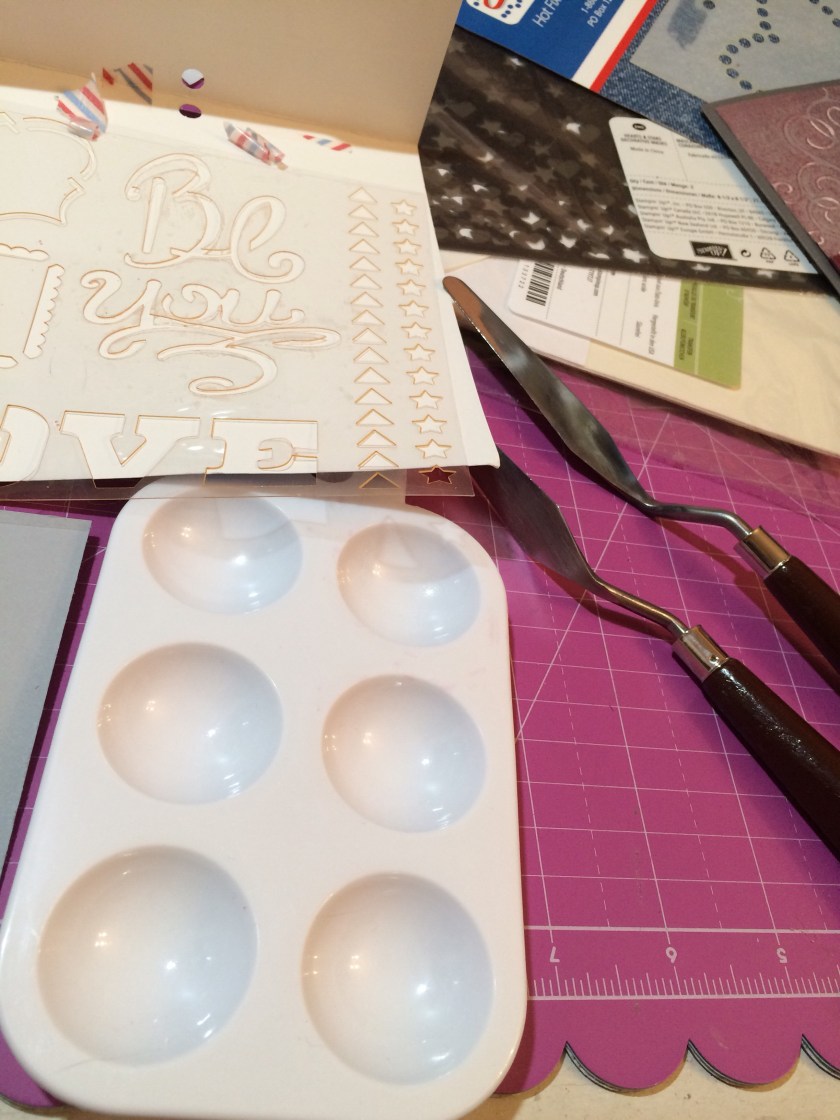
I started looking for other stencils I could use while I had all this goop I didn’t want to waste. I found a DCWV 6×6 stencil (EM-033-00012) that had both “LOVE” and “Be You” on it, and since this is the season for Valentine’s Day cards, I thought they’d go nicely with my current projects. I pulled two heart stencils too. Ambitious, apparently. 😉 And no, my paste didn’t stretch that far. 🙂
But in doing the “Be You” stencils on cardstock and then on DSP, I had a lot more problems with runs beneath the stencil. Granted, things were starting to dry while I searched for more stencils to use up the excess I’d made, but I thought I had time. Maybe I should have added a drop of water to keep it thin? No idea. Will have to research that.
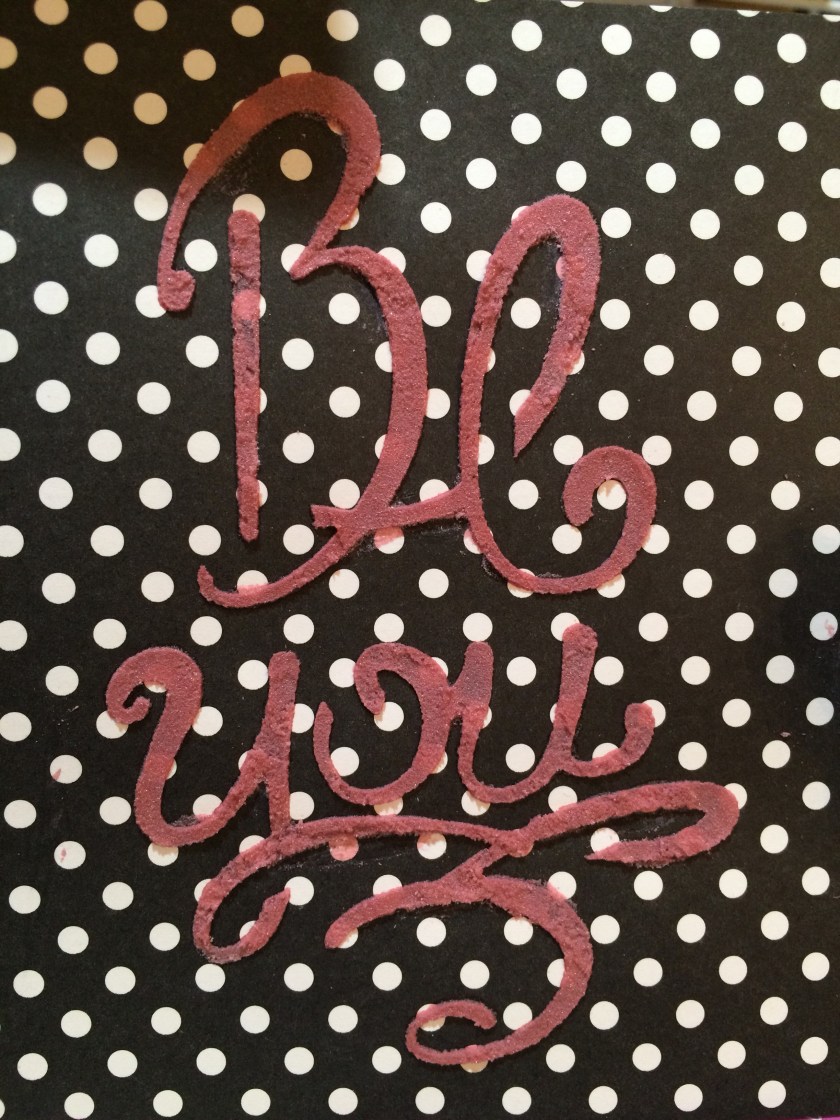
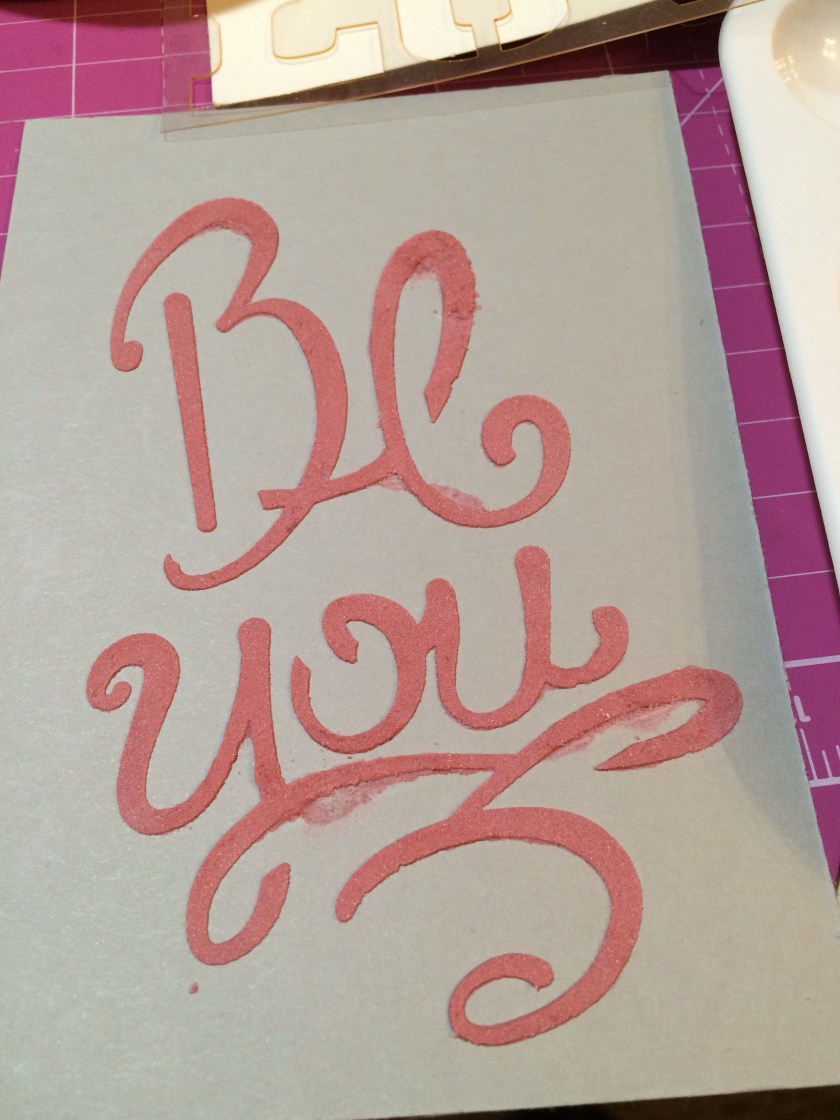 I did find that once the paste was partially dry, I could take a tool and scrape off the excess around the letters…and the piece of black background/polka-dotted paper hid that a little better than the grey cardstock. Still not perfect, though. But manageable. At this point I’m thinking of taking my Cutterbee scissors and fussy-cutting around the gray cardstock example. Seems like it’s drying pretty quickly. I can’t scrape off anything around the hearts anymore. It would let me pat the “Be You” letters back into place by hand when I was trimming those with my Creative Memories sticker placement tool (use whatever you’ve got, right?).
 Then I tried to wash off my tools. I think I should have done that immediately. I stood at the sink scraping off the stencil (which had been used twice then) with my fingernail, under running water and even soaking it in the sink. I couldn’t get it all off, and I bent a bit of my stencil as well.
So, I’m looking for tips on just what to do or not do with stencils and embossing paste. I’ve figured out that a little ink goes a long way and the paste dries fairly quickly, and obviously I need to clean the stencil earlier – but how do I get it to stop the bleeding? Thinner, repeated layers? I like height. 😦 I couldn’t see how to washi the close parts down either. If you have advice, I’m all eyes. Thanks in advance. It has to get better than this! It leaves such a cool 3D look when it’s actually all smooth.
I’ve wondered, too, whether the embossing paste (tinted or not) would work in silicone molds like SU’s retired pressed clay molds or the current Mod Podge molds sold in various locations. Any clue?
Pics attached so you can see my mess. 🙂 And thanks for the help! I feel like such a newbie. 🙂
Connie


Pretty cards!! I don’t have may tips, but I can tell you a few things that I’ve learned about using the embossing paste. Definitely very thin layers are best. If you try to put a bunch on at once, you’ll end up with it oozing under your stencil. I put a tiny bit on the knife and then spread it as far as it will go, then get a tiny bit more and spread another layer and I keep doing that until I get the effect that I want. It dries extremely fast and is very hard to get off tools and stencils once it dries. Before you start, put a pan or dish of warm water on your work area and as soon as you are done with the tool/stencil, put it right in the water. Then take everything to the sink when you are done and wash it all.
And if you like height with the embossing paste, you can put a very thin layer on and then quickly heat it with a heat tool. That makes the paste “puff” up a bit too. So try that rather than putting tons of the paste on. Good luck with your projects! It’s really cool stuff!! 🙂
LikeLiked by 1 person
Oh, thank you so much!! I will definitely try these things. Awesome to know about the “puff” factor. I will be using that! I really like the look of height – like a bit of mixed media but not going crazy with it. I’m going to have to figure out a bigger dish to stir it all in too, when I tint it. The palette wasn’t cutting it!
I think two of the three pieces I tried are salvageable, at least. Will have to come up with something for the third. But it’s a start. Thanks for commenting! ❤
LikeLike