Hello again, and welcome back to my blog! Thanks so much for being here. I’m hopping with my teammates from Amy Koenders’s Inkin’ Krew, and we are showcasing birthday cards this month.
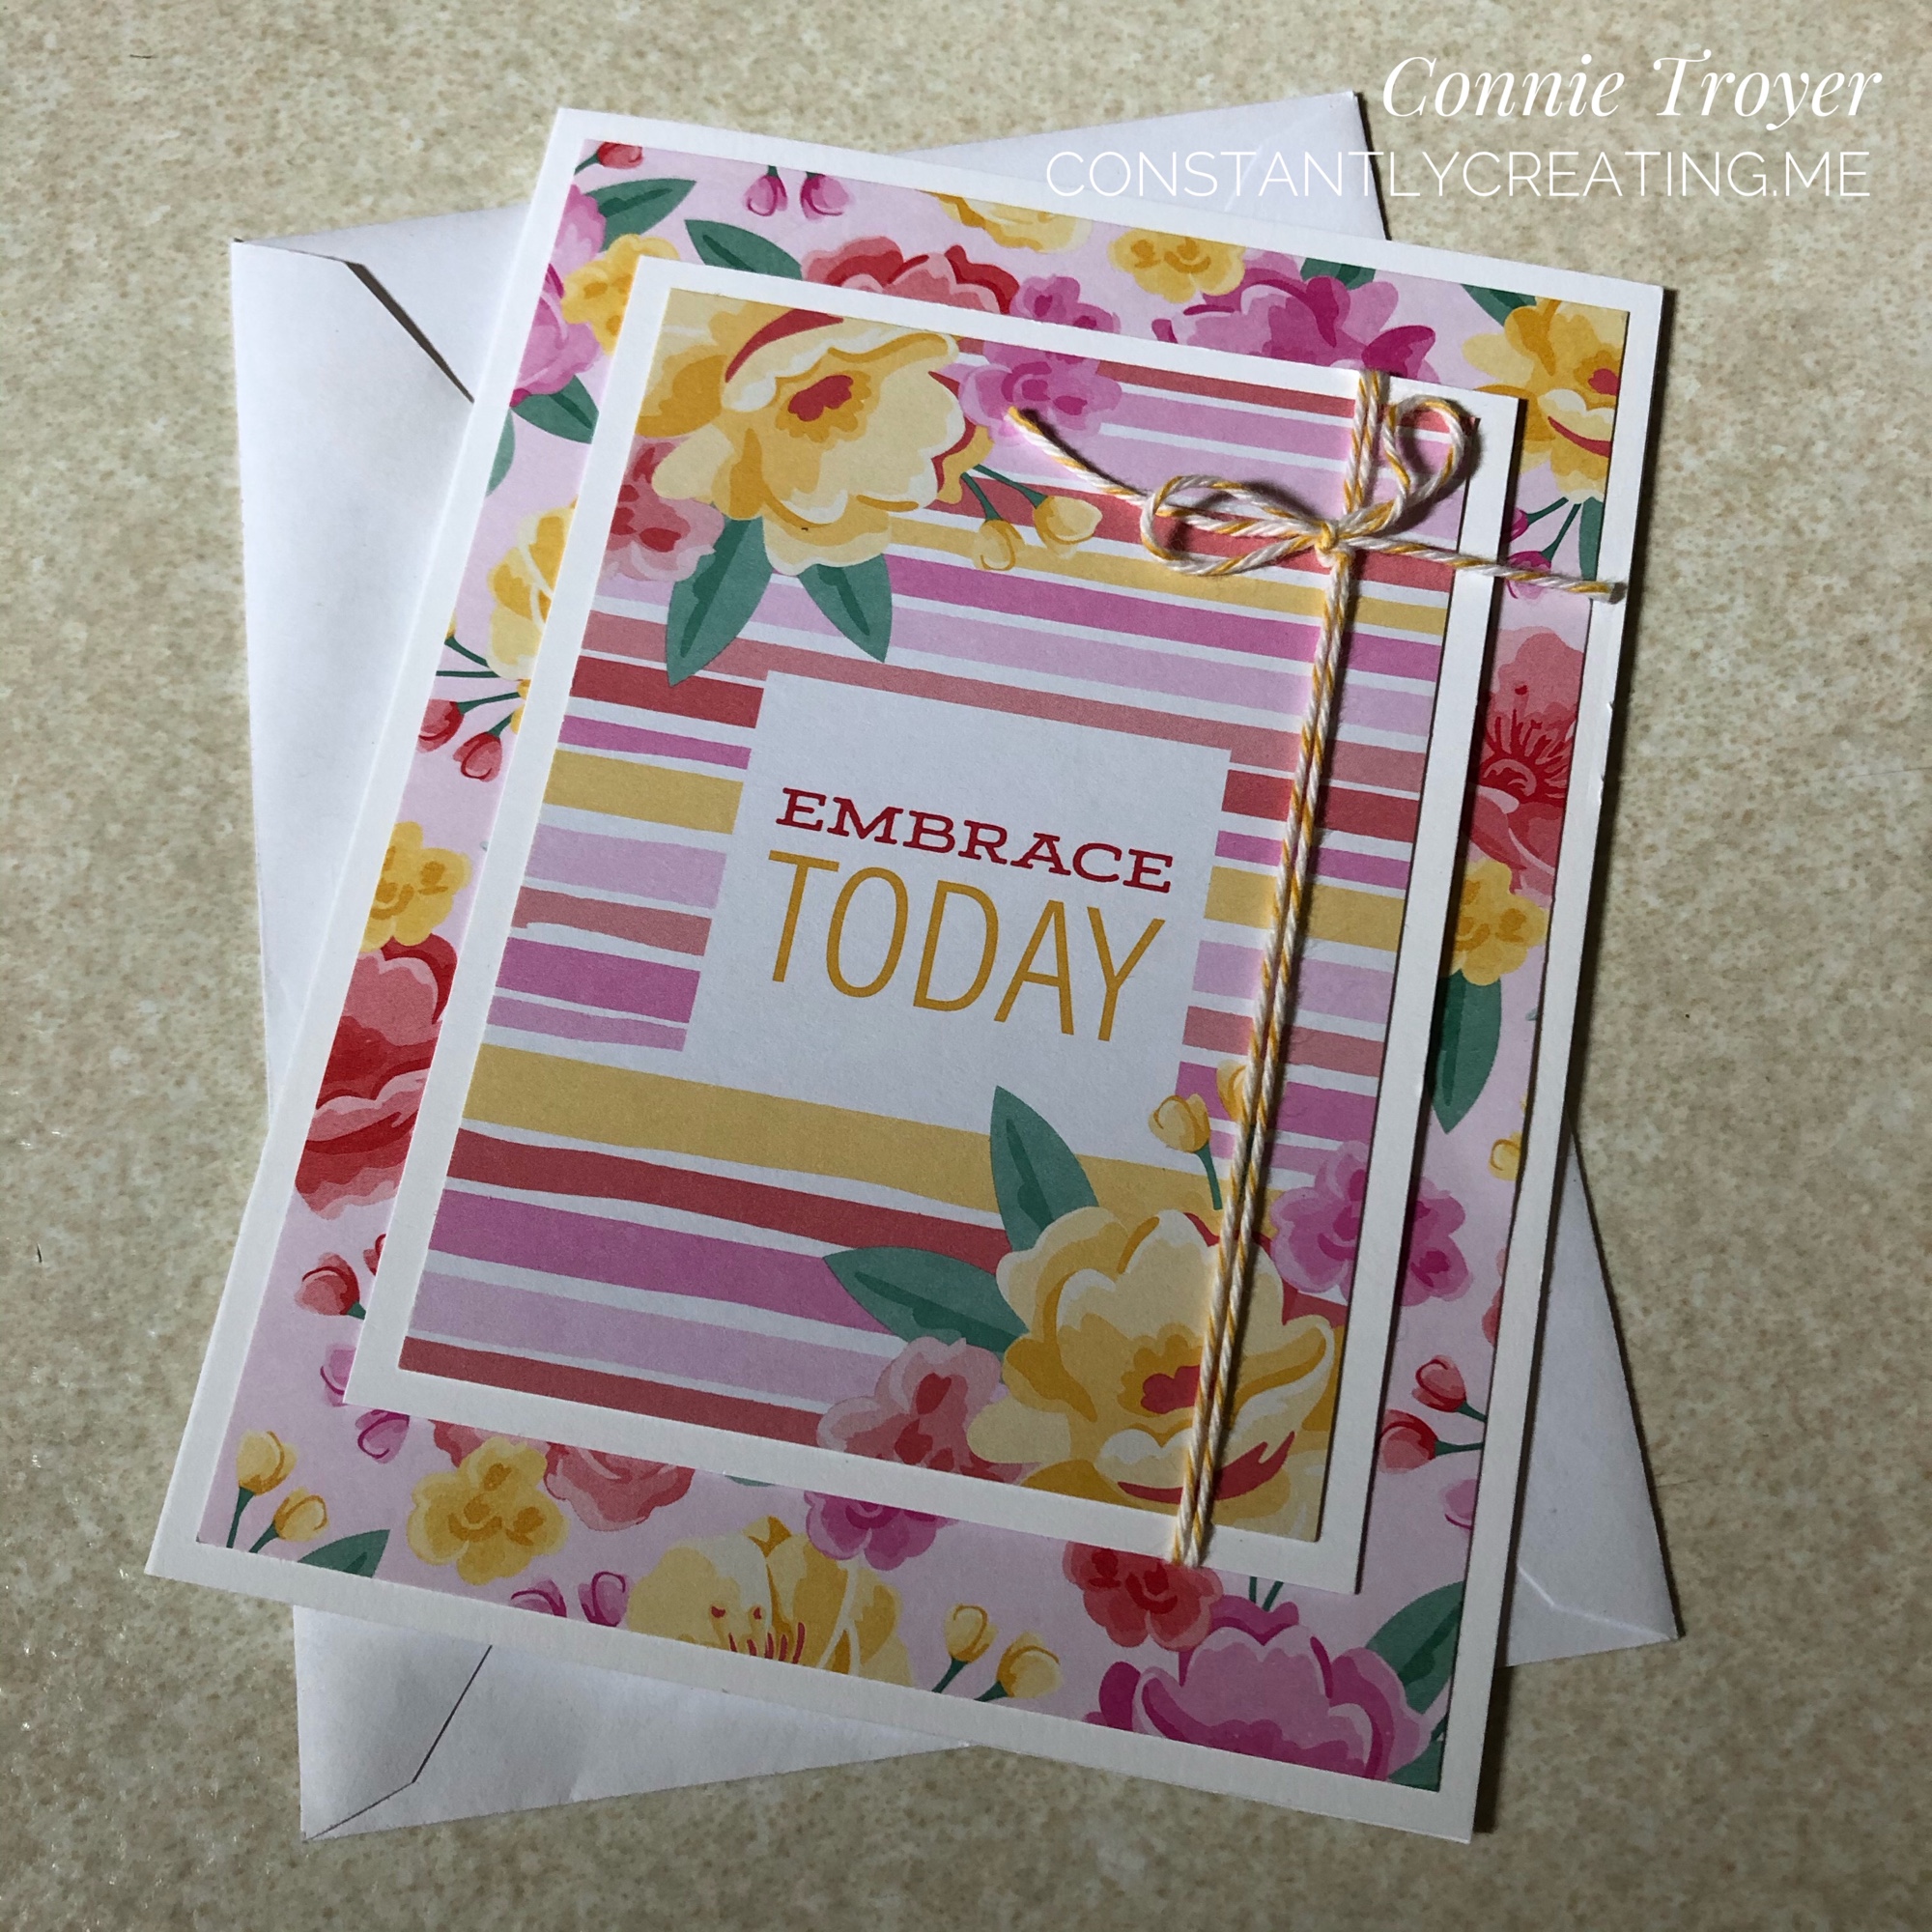
I unexpectedly put most of this card together while gathering some supplies to gift another Stampin’ Up demonstrator friend. As I pulled cards for my friend to use from the Dandy Garden Memories and More Card Pack (item 154302), I realized that the larger grid card (which I consider the back of a “prettier” one) went well with the smaller colored dandelion card I’d also pulled. They just looked so nice beside each other that I had to do something about it. 🙂 Since there are two of each card in the card pack, I sent her one and made mine into a card right away.

I appreciate how the grid has that colored “frame” around it, which makes it look like another layer. It is just one card from the pack. I used the Night of Navy twine from the Well Suited Twine Combo Pack (item 154566) and wrapped it around the focal card, offsetting it, before adding Mini Stampin’ Dimensionals (item 144108) onto the back. Then I centered the dandelion card high inside the grid. I took a piece of dragonfly paper from the Dandy Garden 6×6 Designer Series Paper (item 154297) pack and my Dragonflies Punch (item 154240) and punched a dragonfly that I could hover over a dandelion. I used the Clear Wink of Stella Glitter Brush (item 141897) over the entire dragonfly before adding cut-down Mini Dimensionals on the tips of the wings that are above the grid. Since I often do things out of order, I then added the cards to a card base from the Assorted Memories and More Cards and Envelopes pack. My pack happens to be the now-retired Whisper White version, but the Basic White pack is available now (item 159234). I do have some of the Basic White items to use later.

I decided to use what I’d made thus far for the birthday blog hop, so I searched my shelves for an appropriate sentiment that would fit in the space under the dandelion/dragonfly card. (Yeah, I didn’t plan ahead. But it still works.) I had several sentiments to choose from and went with the Happiest of Birthdays stamp set (item 152539), which is a new set to me. I love the size and fonts of the sentiments in it. I see me getting a lot of uses out of this particular stamp set. I picked the “It’s your day! Enjoy it” sentiment, lined it up on the grid of the card with my Stamparatus (item 146276), checked that the stamp was also straight on the grid of the plate, and inked it up with the In-Color Misty Moonlight ink (item 153118). Stampin’ Up’s In-Colors are only available for two years from the beginning of their release period. Luckily for me (because it’s one of my favorite colors), Misty Moonlight will be here through mid-2022 since it just came out last summer. I secondarily tested my inked stamp for alignment by first bringing the plate down to a sheet of the Small Grid Paper (item 149621), which fits the Stamparatus perfectly. I’ve found I’m happiest with my stamping that way. I cleaned my stamp with our Simply Shammy (item 147042).
I haven’t made the inside of the card because I’m not sure where it’s going yet. I’ll likely carry over some of the matching Designer Series Paper to the inside before I pick a sentiment.
To see the other birthday cards my team members made, check out their links below or use the “Previous” and “Next” buttons. This team never fails to impress and inspire!
If you’ve seen something you like, a purchase of $50 before tax and shipping through my online store gets you a free gift and a point to my reward system. And don’t forget that during the rest of the month of February, you’ll also get to choose a free gift from Stampin’ Up if you order in increments of $50 or more! Who doesn’t love free stuff?!
Thanks again for stopping by, and comment if I can help you!


- Mary Deatherage – https://wp.me/p5snyt-gFY
- Jaimie Babarczy – https://wp.me/p79UhD-4Pn
- Jillian Good – http://dyedwith.love/?p=126
- Karen Ksenzakovic – https://wp.me/paaNf4-41V
- Leslie Larkin – https://leslielarkin.com/a-touch-of-ink-stamp-set/
- Akiko Sudano – https://wp.me/paOv8E-2pi
- Connie Troyer – https://constantlycreating.me/2021/02/09/birthday-wishes-with-stampin-ups-dandy-garden-memories-and-more-for-amys-inkin-krew-blog-hop/
- Sue Prather – https://wp.me/p5yitZ-2qO
- Terry Lynn Bright – https://tlsbrightspot.com/2021/02/09/stampin-up-you-are-amazing/
- Donna Leonard – http://stampdabbles.com/?p=4327
- Tara Carpenter – https://tarabethstamps.blogspot.com/2021/02/stampin-up-prettiest-birthday-card-for.html
- Krista Yagci – https://www.thestampingnook.com/post/stampin-up-hey-birthday-chick-and-stitched-whimsy-dies-birthday-card
- Amy Koenders – https://wp.me/p2SFwf-m62