Hello again to my readers! And happy Valentine’s Day! Did you think I forgot about you? It’s been a little while since I’ve posted…but not quite as long as my blog is saying. I’ve had some trouble staying connected to some automatic sharing helps, so I have some snags to fix…but I’m back for now! Today I’m joining several of my Stampin’ Up team members on a birthday blog hop for Stamp with Amy K/Amy’s Inkin’ Krew (yes, even though it’s the day of love and all that). My schedule has been better recently, as I’m off work for a few more weeks yet (I think), so I figured I had no excuse not to join this time. 😉
Honestly, I’m still in the middle of a massive craft-room reorganization and other house projects (attempting to make good use of my time off), so I’m really thankful right now that I bought Annual and Mini shares from some of my teammates, because I can just peek into the Priority packages I haven’t organized and fish out something that inspires me. 😀 I hope to offer those some day myself….
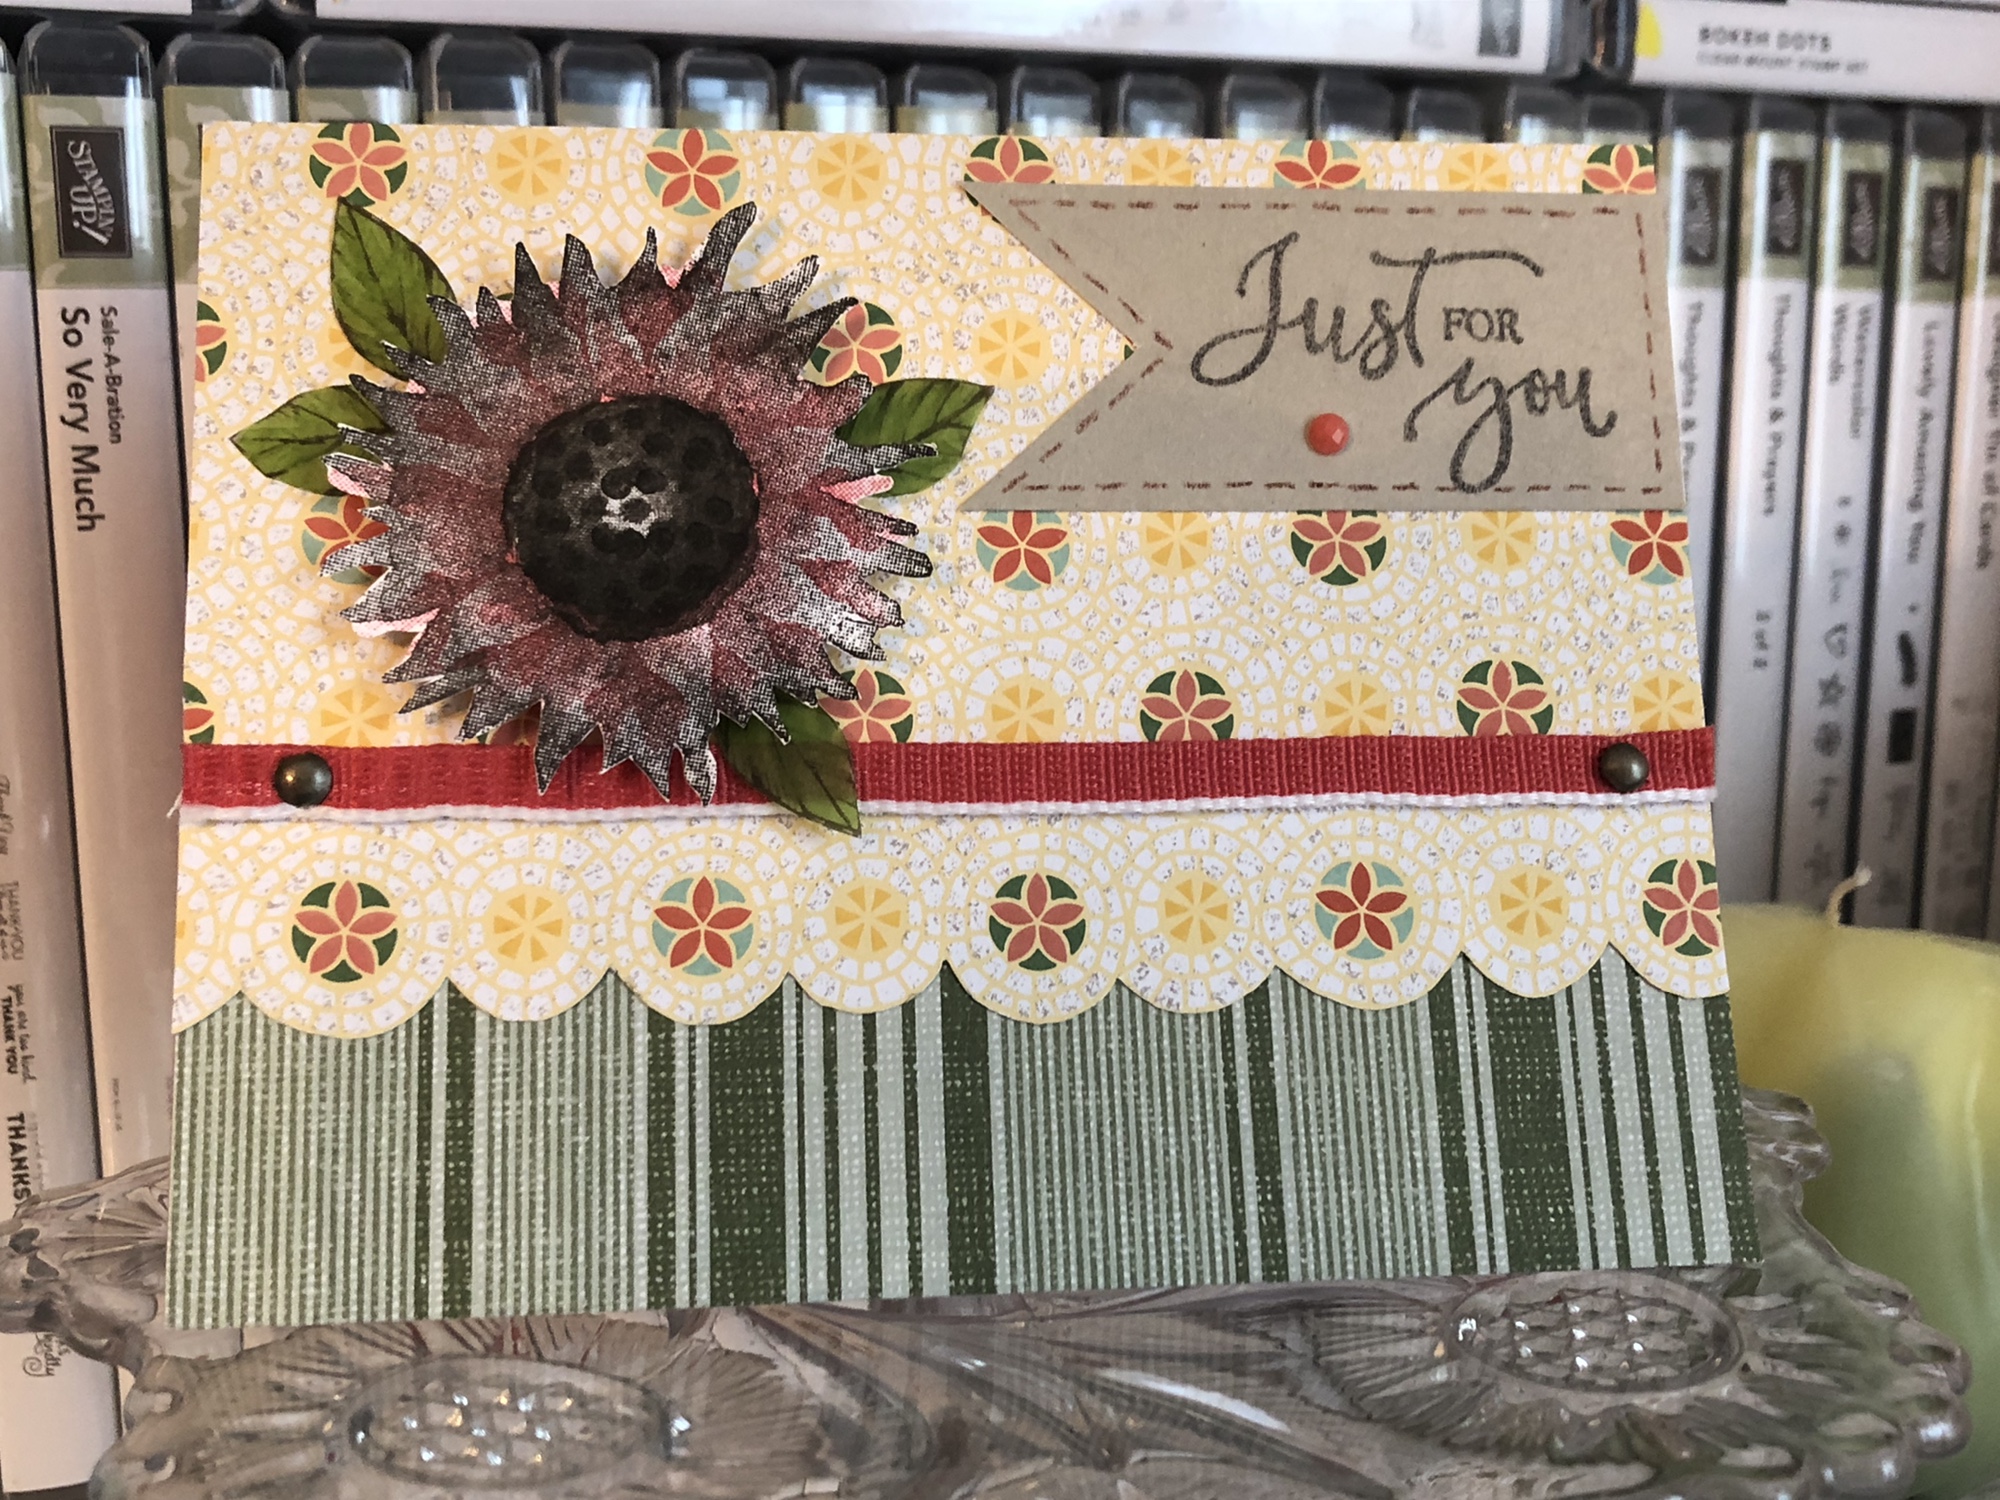
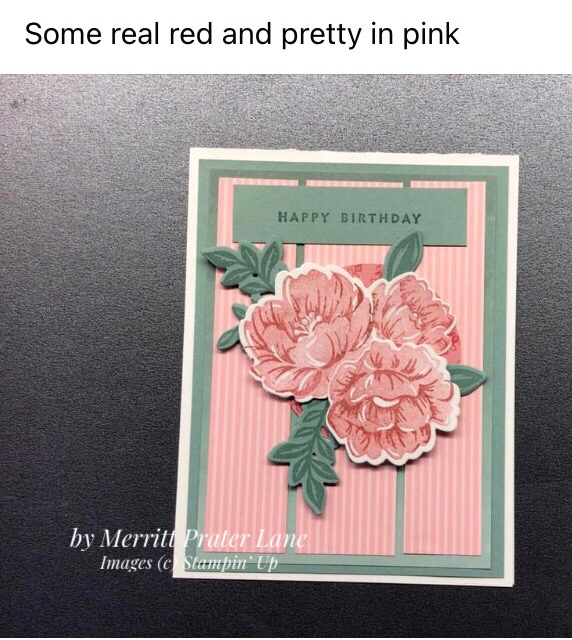
I wasn’t sure what I wanted to make for the hop until a saw a card that my new downline Jennifer Thornton made (go check out her brand-new Instagram or Facebook business pages and give her a follow if you’d like to see more as she continues to add content!). I usually design my own cards rather than CASE someone or use sketches, unless I’m running short on time or creativity, but her card just spoke to me with both the detail and the simplicity I saw. I chewed on that image for a couple of days, thinking about how I’d change it up, and I was still percolating over it when I saw a card my teammate Merritt posted in our Amy’s Inkin’ Krew group. Right away I knew I wanted to combine elements from both cards to create something new—and I’ve put my own ideas in there too. 🙂
So that you know where I was starting from, here are Jennifer and Merritt’s cards. Aren’t they lovely?

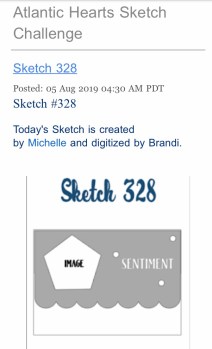
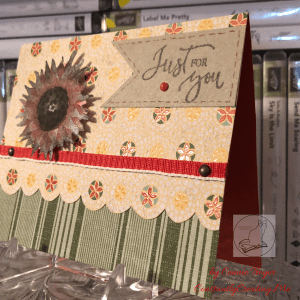
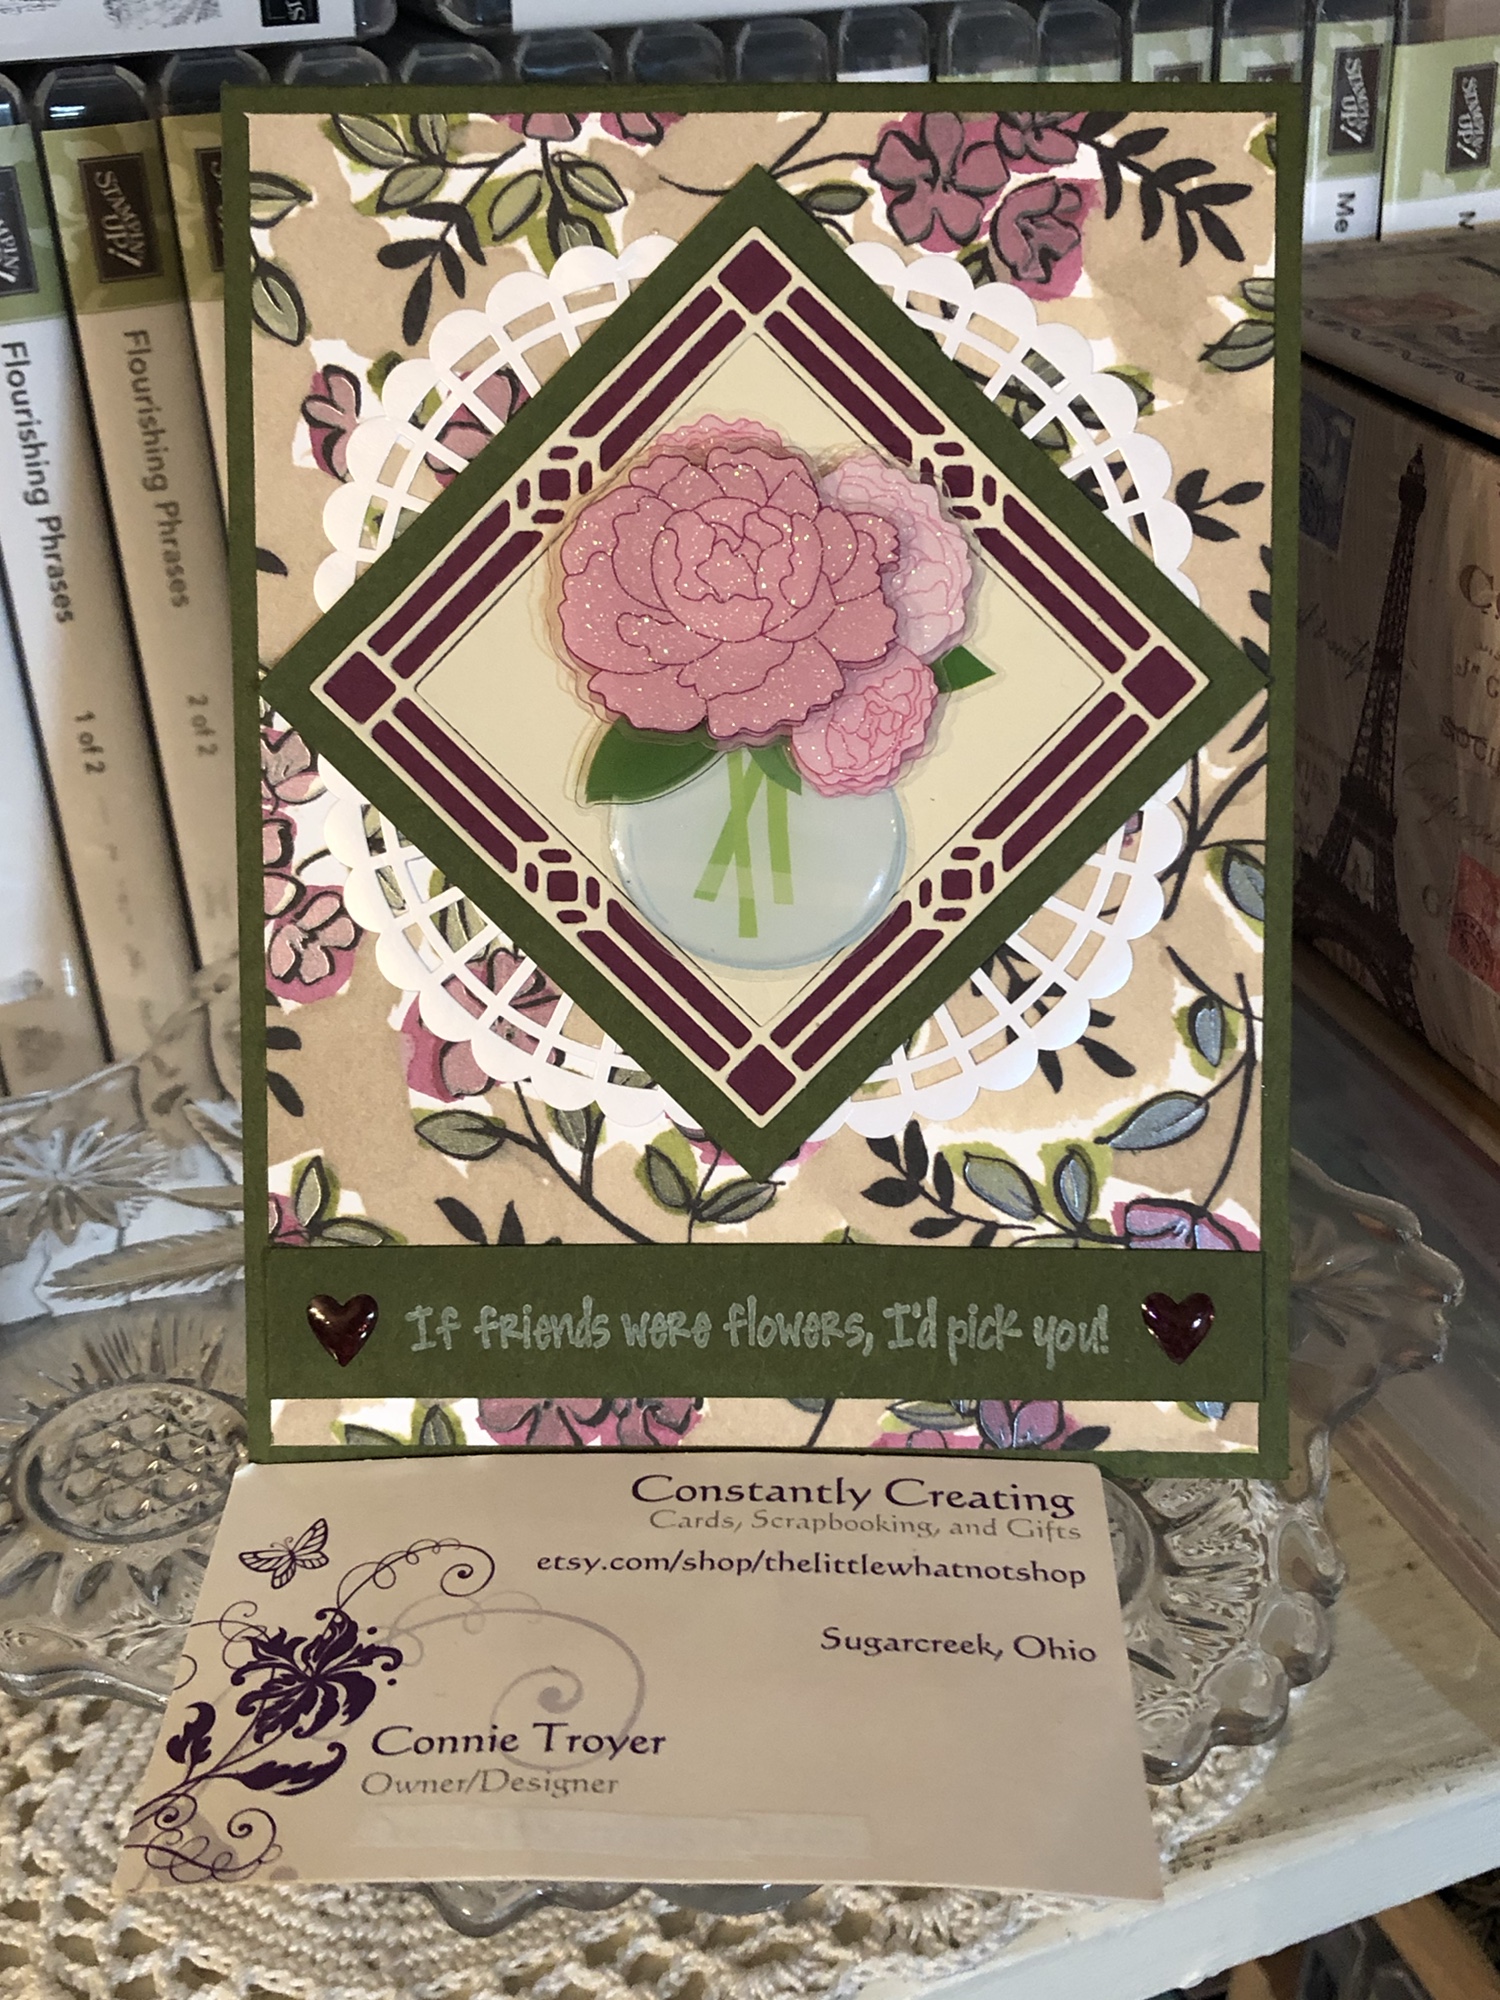
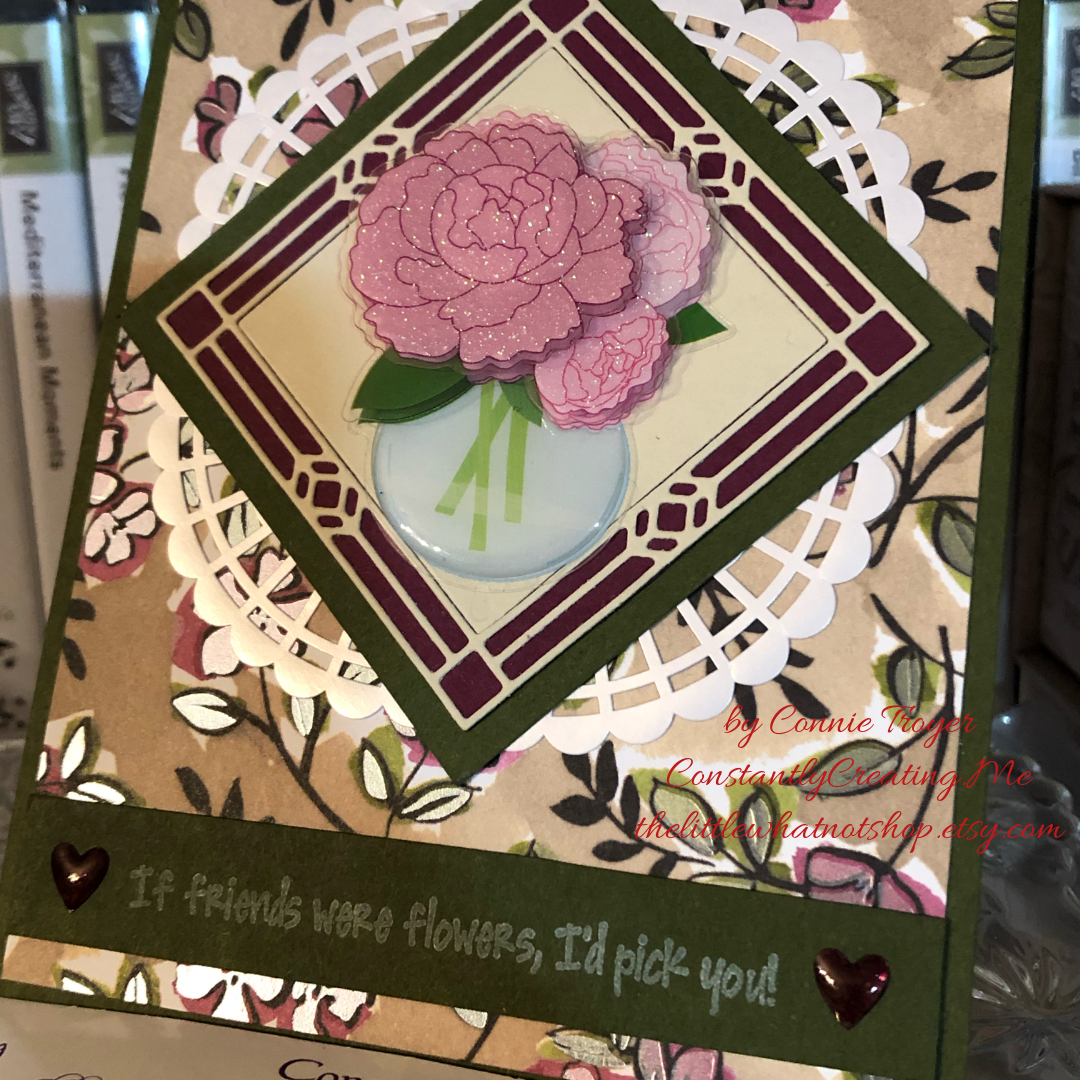
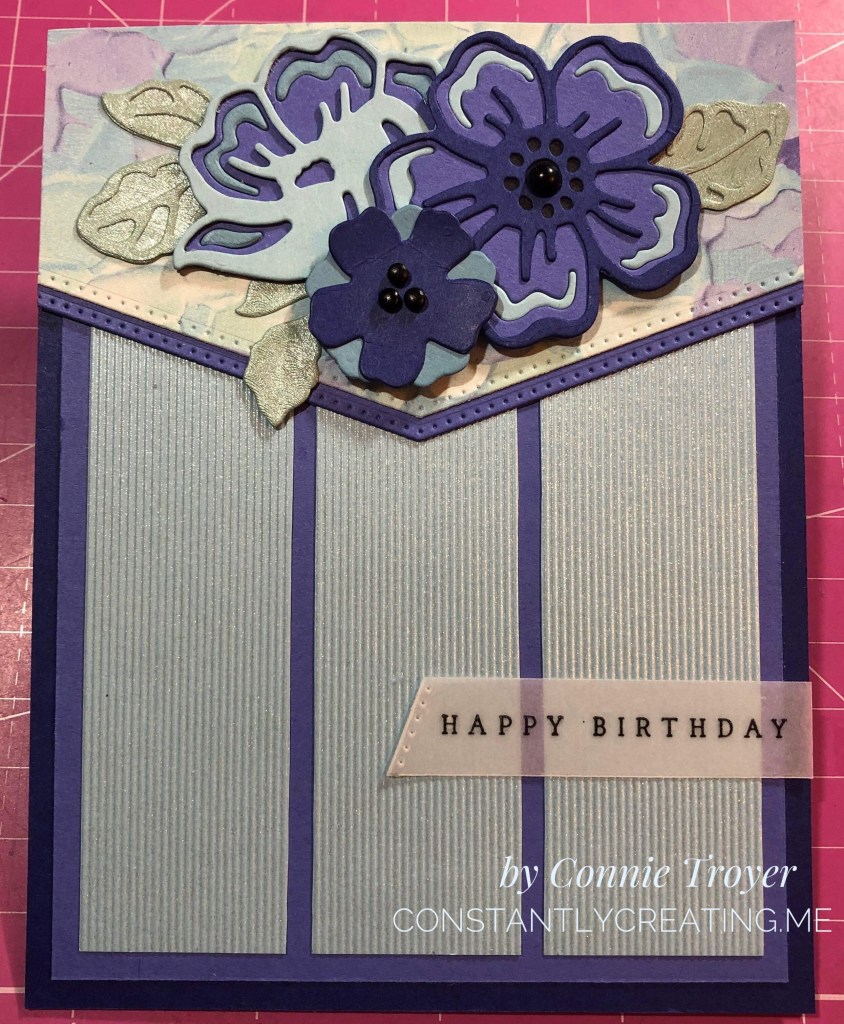
I decided to rotate the vee on Jennifer’s to a portrait-style A2 and add the three sections on Merritt’s underneath the vee (where Jennifer had the embossing). I actually thought about heat embossing the dots background from the new Hand-Drawn Dots stamp in VersaMark, so I might try that sometime—but I found paper from the Fancy Flora DSP pack that coordinated with the gorgeous Balmy Blue sheet in the Textured Shimmer Specialty Paper samples I was working with, and that matched my deadline better. I planned on adding Merritt’s flowers to the top of Jennifer’s vee, and I chose the striped paper for the bottom because Merritt’s paper there had stripes as well (though I wrestled with the latter decision for a bit).
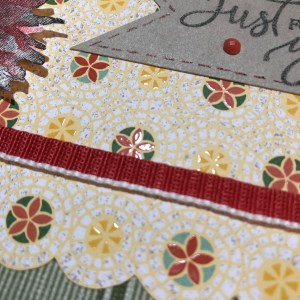
By the way, the papers in that Textured Shimmer Paper pack are just so beautiful. Yes, they actually shimmer, and there’s a faint “other” color in between the textured stripes. It looks like a gold or champagne color in the Balmy Blue sheet.
The die that makes the vee is one of six borders from the Basic Border Dies. I wanted to be precise with where I placed it on the 6×6 sheet I had because I wanted more Balmy Blue than either purple color. I guess that’s how I ended up having a slightly wonky piece once it was cut, which played tricks with my eyes as I tried to decide how large the banner should be. Be careful with how you line up the edges of these dies; it was very easy to think it was straight when it wasn’t because I was working on the 4.25″ side. On the longer 5.5″ side, the edges wouldn’t have been so far away from the paper and thus easier to visually line up. (I did use grid paper underneath my DSP while I was die-cutting but something still wasn’t right.) Use washi tape or Post-it Note tape or a magnetic mat to keep it where you want it on the paper once you decide where you’re cutting. A 6×6 card plan would be much easier to use with these dies.
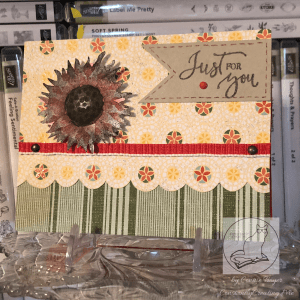
This card had a lot of decisions with it, some of which I’ve already mentioned. I also had to decide whether to use the same amount of layers as Merritt’s, whether to add a solid border underneath the patterned paper (where the black edge is on Jennifer’s), the size of the three sections, which colors of flowers would look best against the Fancy Flora DSP, and more. Finally, things looked “right,” but it took time and video calls with two crafty buddies to get me there. (Aren’t crafty friends the absolute best for brainstorming? I’m thankful for T & E with this round.) Sometimes it just helps to take pictures and talk things through. I ended up with one less layer than Merritt’s; flowers using Balmy Blue, retired Marina Mist, and In-Colors Starry Sky and Orchid Oasis with leaves of IC Soft Succulent from the Brushstroke Specialty Paper; a solid border under the banner, and striped sections that are 1-1/8″ across. And no vellum after all.
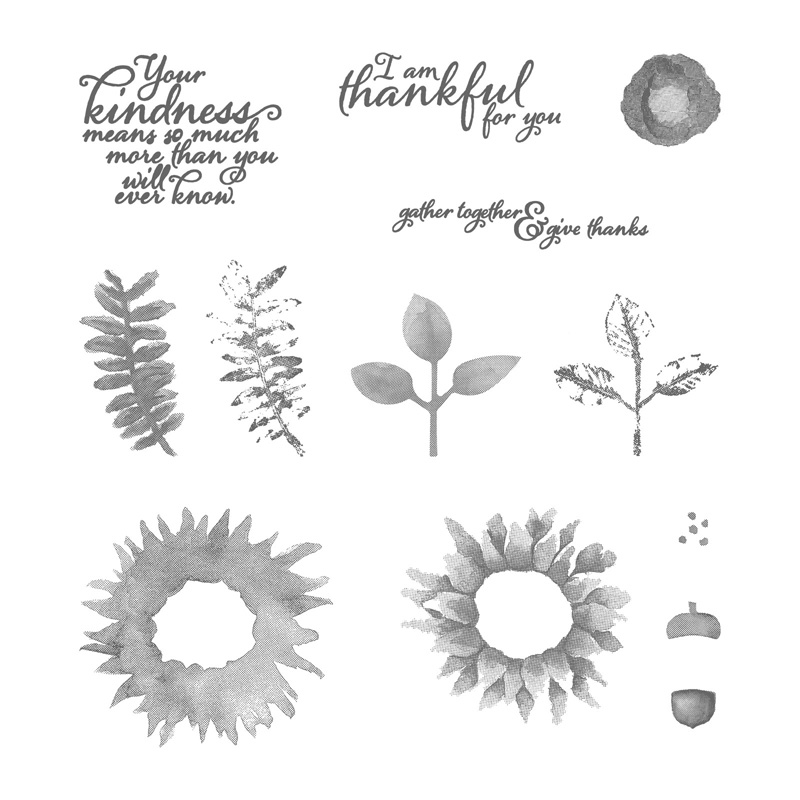
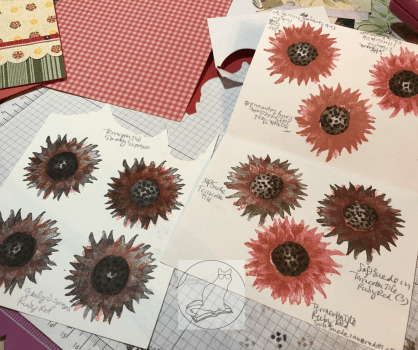
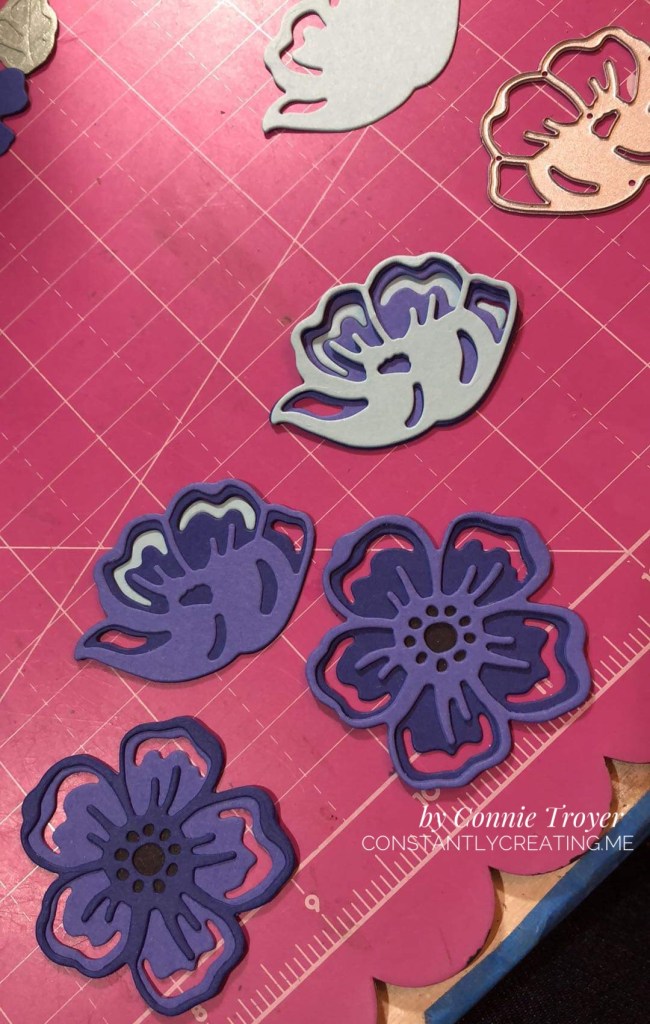
I was initially going to place some vellum atop the Fancy Flora DSP, because the more I looked at that piece of paper, the less I liked it (sorry, honesty warning). I was afraid it would be too bold or contemporary against the beautiful flowers I was planning from the Summer Shadows Dies. But once I had more of the final pieces together and ready to glue, I thought the vellum muted the pattern too much—almost like a white-out, with a sheet of blue on the bottom. Off it went, as I played with which colors to put where on those die-cut flowers and how exactly to arrange them.
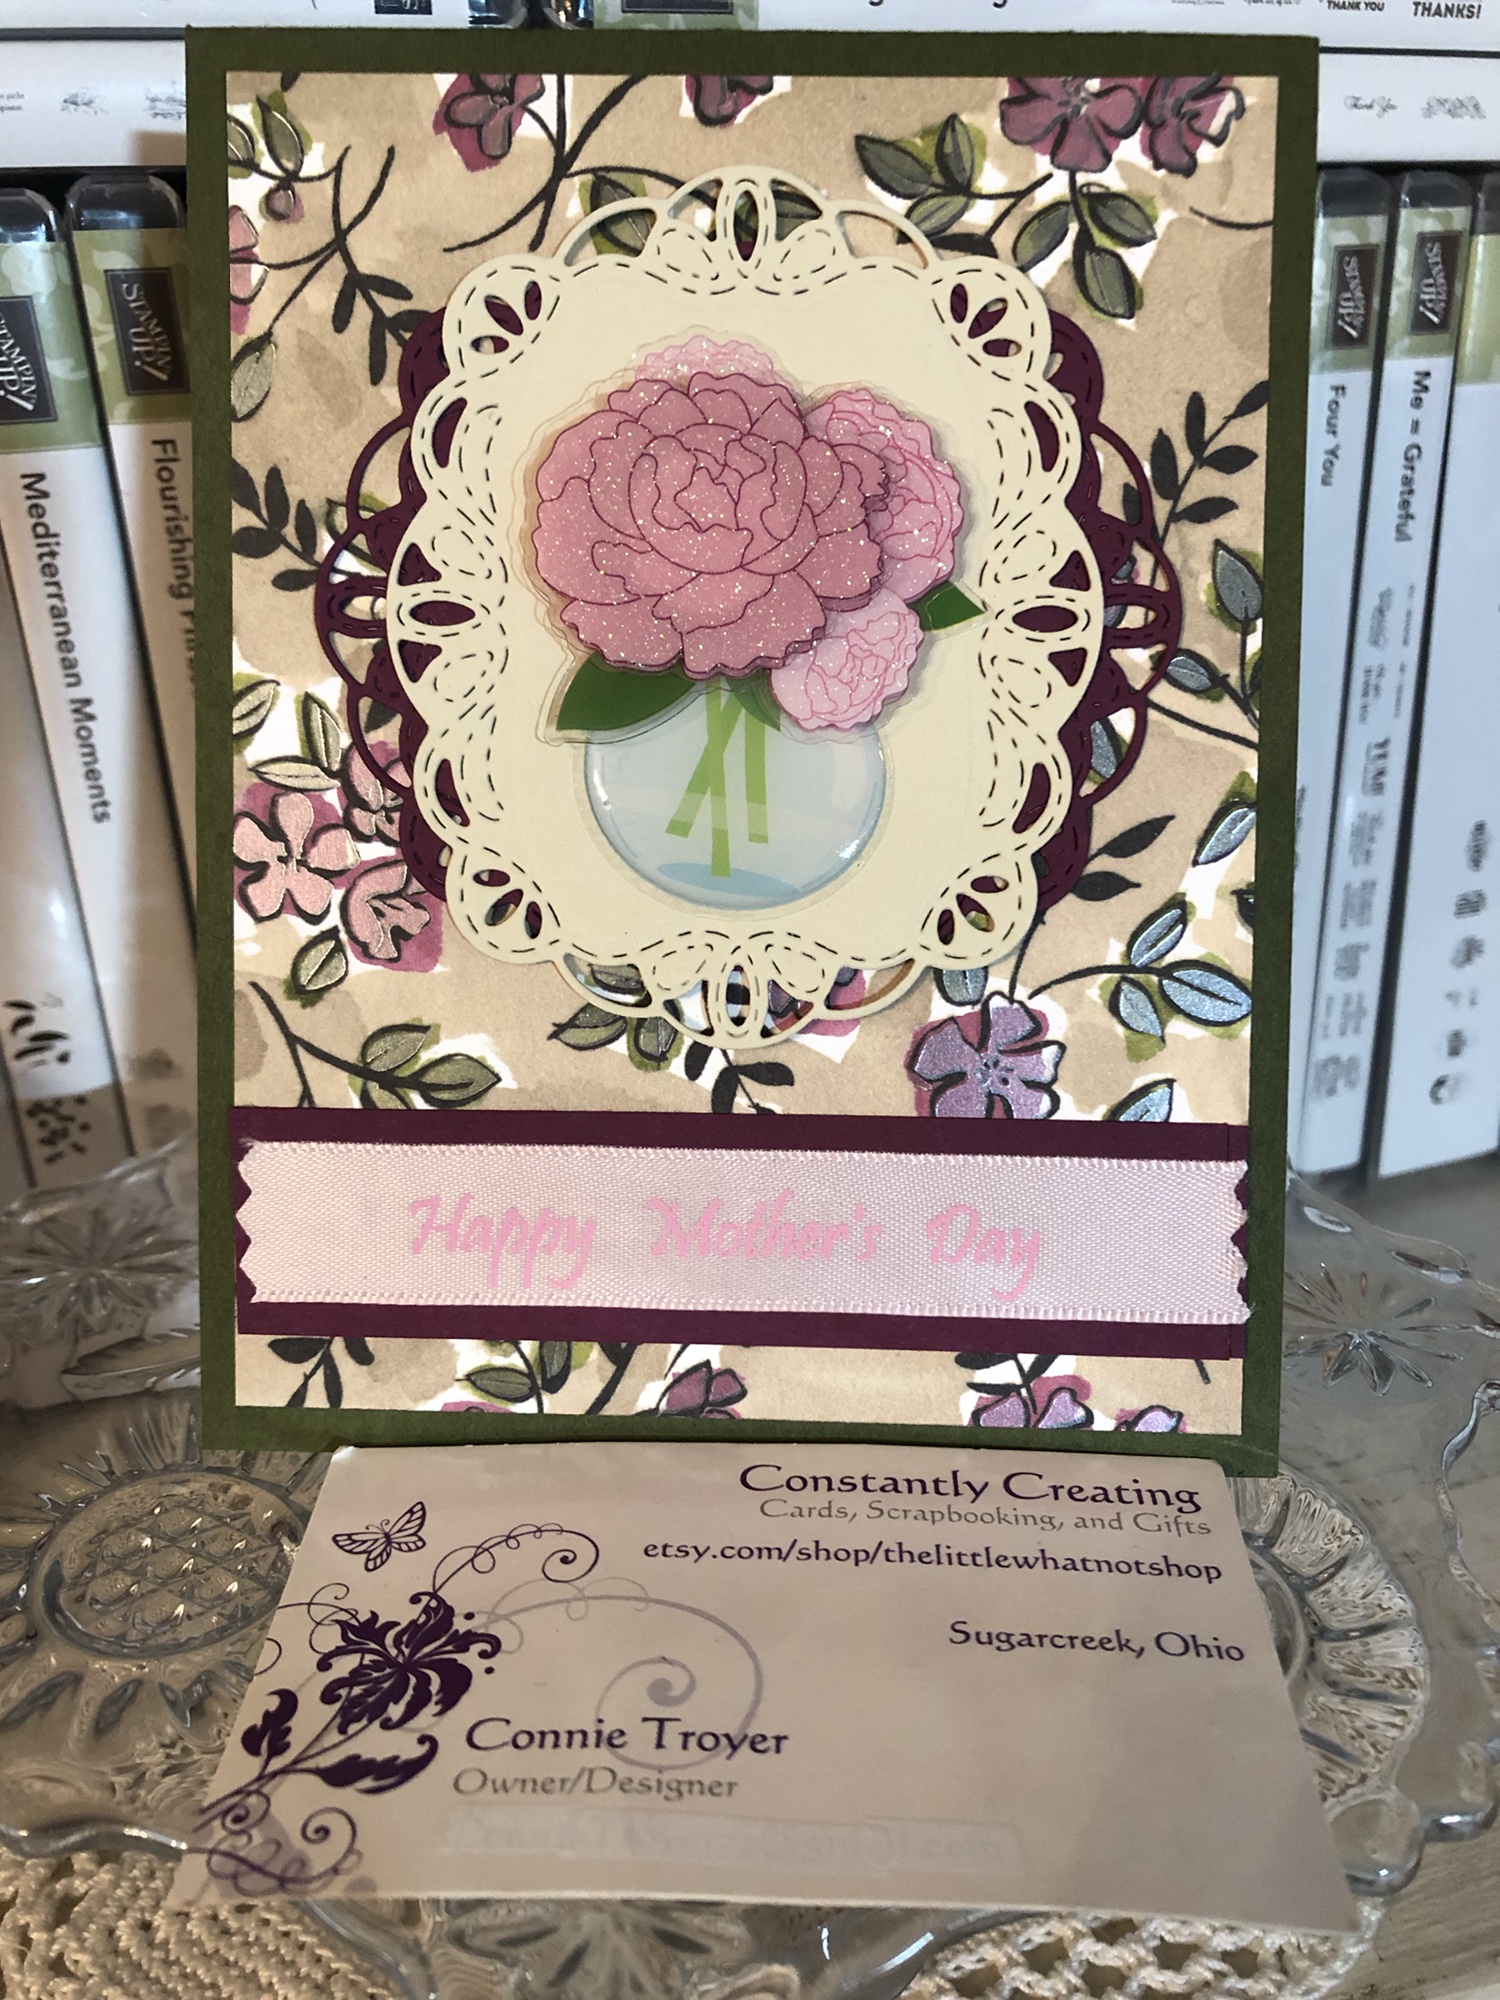
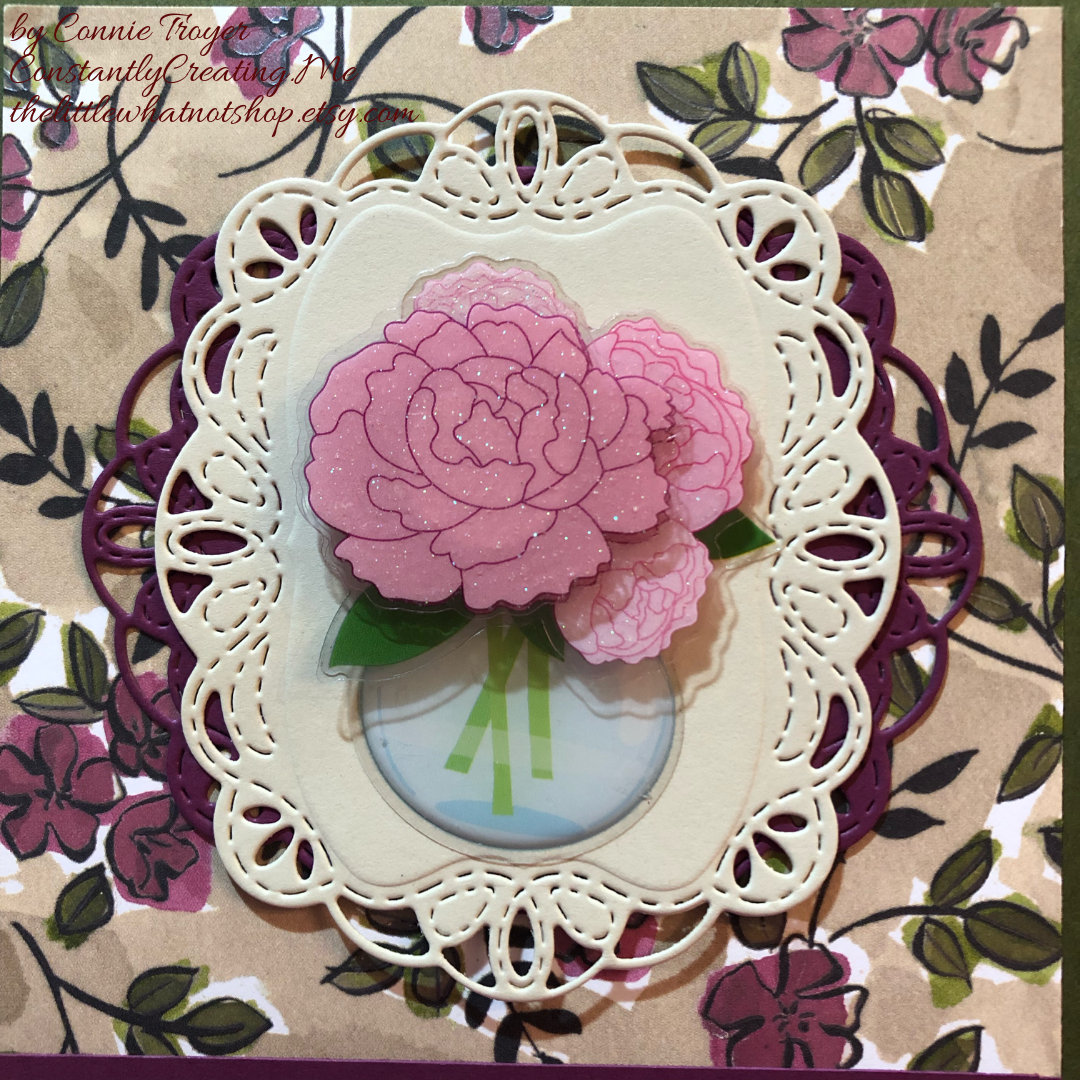
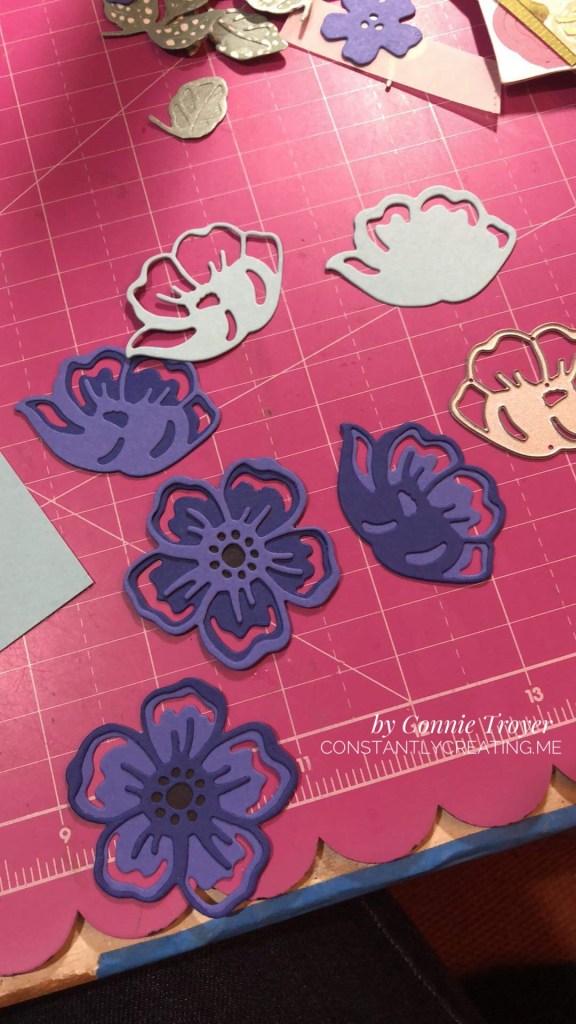
I ended up inlaying Marina Mist into the double-stacked side flower of Balmy Blue and Orchid Oasis and then placed Balmy Blue into the Starry Sky/Orchid Oasis petals. I colored the center of the largest flower with my black Ultra Fine Retractable Sharpie and placed a large dot from the Matte Black Dots in the middle. The smallest flower is Starry Sky cardstock backed by Marina Mist and filled with three Classic Matte Dots. Though I should have used them earlier, I used our Adhesive Sheets to provide a base for my die-cut flowers so that I could add the insides of those petals. In the photo below, I’ve cut around the Adhesive Sheet flowers so that I could move them around as I tinkered with the placement of them on the banner. They are on top of the vellum in that photo.

I also had to find the right sentiment and size since my banner was only so big. I decided to go with the “Happy Birthday” sentiment from the Waves of Inspiration stamp set. I almost cut it out with one of the Something Fancy Dies, but I ended up having a scrap of vellum that I’d cut off the sides of the banner somewhere in the middle stage of cardmaking. It fit the sentiment perfectly and even had the dotted perforation from the vee. I stamped the sentiment in Staz-On Jet Black ink because it was on vellum, after all. I glued it with tiny little dots of my Art Glitter Glue behind each letter so that not much would show through.
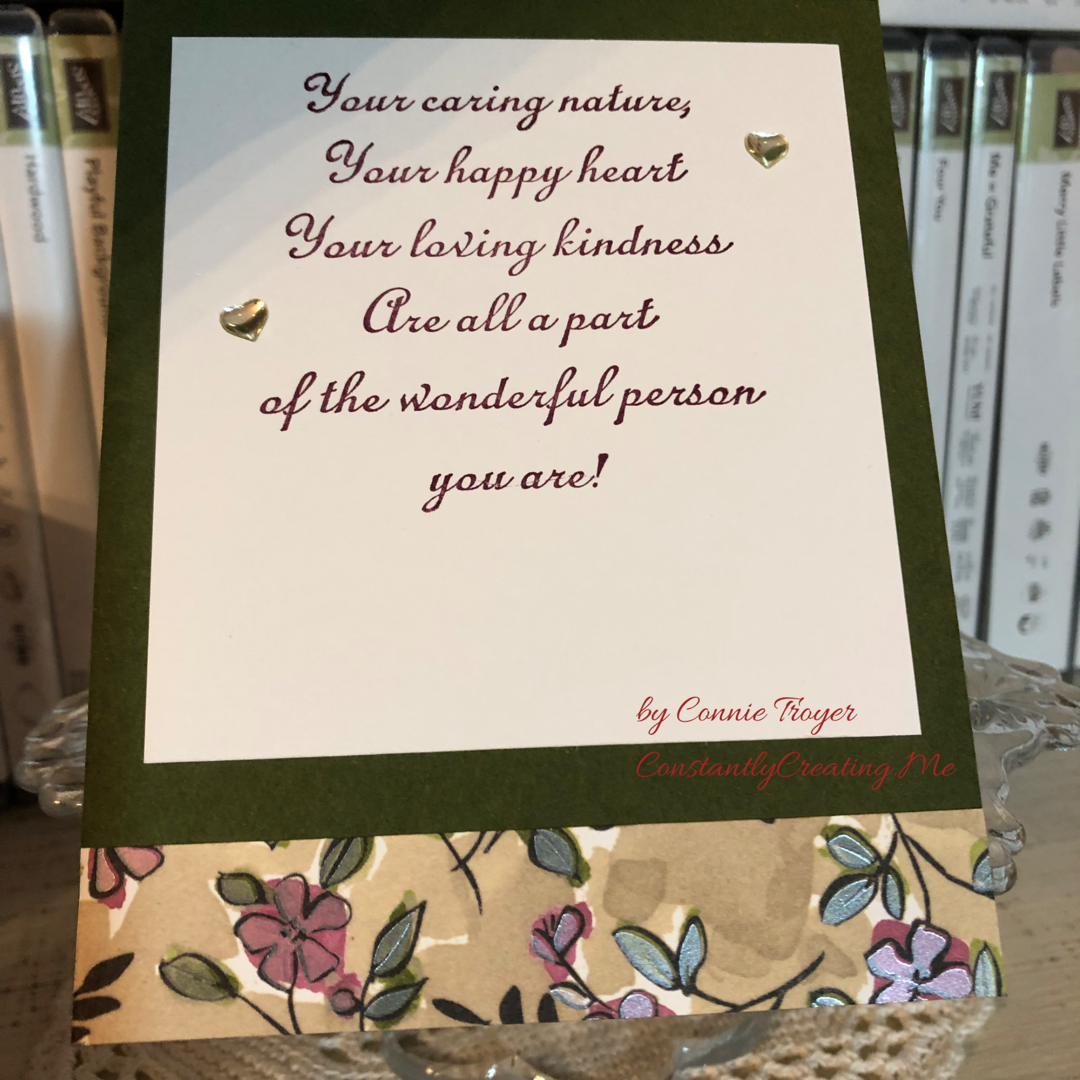
For the inside of the card, I used a sentiment from the Inspired Thoughts stamp set in Memento Tuxedo Black ink and two leftover strips from the Textured Shimmer Paper and Fancy Flora DSP, with an Orchid Oasis single flower. I used a large sequin from the Pastel Adhesive-Backed Sequins pack on top of that flower, but it wasn’t quite large enough to cover the three holes in the center, so I took my ordinary office hole punch and punched a circle out of the Fancy Flora DSP, glued it first, and then added the flat sequin on top. Plus one leaf from the Soft Succulent Brushstroke paper.

I hope you’ve enjoyed seeing this card today. There were times it was challenging, but I love how it turned out. I am going to try it again using two flowered pieces of Fancy Flora DSP, so you may see more like this in the coming weeks. If you have any questions or thoughts, please feel free to leave me a comment! You can find the Stampin’ Up products I used in my online store: https://constantlycreating.stampinup.net.

Thanks for “hopping” with me today. (I feel like a spring bunny every time I say that!) You can see what the rest of my teammates have created by going through the list below or just using the team’s Previous and Next buttons on each post. Click Previous on my post to go to Karen Finkle’s blog or Next to go on to visit Carol Buckalew and see what they made! Happy crafting until I blog again!

- Tara Carpenter
- Karen Ksenzakovic
- Karen Finkle
- Connie Troyer—You Are Here!
- Carol Buckalew
- Terry Lynn Bright
- Mary Deatherage
- Akiko Sudano
- Amy Koenders