Friends Are Like Seashells with Flowers for Every Season for Stamp with Amy K’s Tuesday Blog Hop

Scraps of paper can make something beautiful!

Hello and thanks for stopping by my part of this Stamp with Amy K’s Tuesday team blog hop! We’ve made cards “for the ladies” today.

One of my favorite things to do is to encourage my girl friends and other women on my life’s path. I had a Mother’s Day card in mind to create, but I’ve had an excess of other work during the last couple of weeks—so I went with this butterfly one instead. It’s a card I would send to one of my dear friends as a thinking of you or a birthday or a card of encouragement, to brighten their day and make them feel special.

I began the card really just wanting to use up some of my scraps of Flowers for Every Season 6×6 DSP (item #152486, currently on sale for $6.90 on stampinup.com during the Annual’s Last-Chance sale). I found three long and skinny scraps that were around the same size and had a pretty pattern among them that I could use as a center strip.

I decided to use the Misty Moonlight color in two of the strips as the color of my card base, and I glued a mat of Very Vanilla cardstock (item #101650) atop the card base, leaving about an 1/8″ border, to give some separation and definition to the colors in the papers that would be on top. (Forgive me for the guesstimate, but I don’t really measure things; I just work with things until they feel right.)

Once I glued the patterned DSP, I felt the strips also needed some Very Vanilla to break the color clash. Those strips are definitely an 1/8″ each because I cut them with my trimmer intentionally. 🙂 I also measured the smaller edge of the DSP strips so that I could place the floral pieces in exactly the center. I use a ruler on my work mat and inch inward by eighths and quarters until I figure out where the middle is. (I do better with seeing physical measurements than with abstract figures.)

To add the butterfly, I first took a piece of recently sold out Bijou Butterfly DSP and fussy-cut the largest butterfly with my Paper Snips before popping up the butterfly on foam Dimensionals (item #104430) in the top half of the card, leaving room for a sentiment below.

To create that sentiment, I used one of the Stitched with Whimsy Dies (item #155314) and Misty Moonlight ink (item #153118) with a sentiment from the Friends Are Like Seashells stamp set (item #158203).

I first took the die to a scrap of Very Vanilla, which impressed the stitching into the paper. The die does not cut around the stitching; I fussy-cut around it myself with my Paper Snips (item #103579) using the edge of the impression as a guide and then edged it with a Misty Moonlight Stampin’ Write Marker (item #153125 for the In-Color Pack of five).

Then I placed my sentiment stamp on my Stamparatus stamping platform (item #146276), created a few test sentiments for placement, and finally stamped it where it would fit before decorating the sentiment box with embellishments from Wonderful Gems, Blue Adhesive-Backed Gems (item #153547), 2020-2022 In Color Enamel Dots (item #152480), and Playing with Patterns Resin Dots (item #152467).

I was able to pull out each of the colors used on the card with those embellishments, so I was pleased. (The white space in the corner was just too much for me. If you follow my blogs, you’ll have heard that I’m not a big fan of white space.) I also felt that doing something different with the gems like that spoke to the “unique” idea of the card.

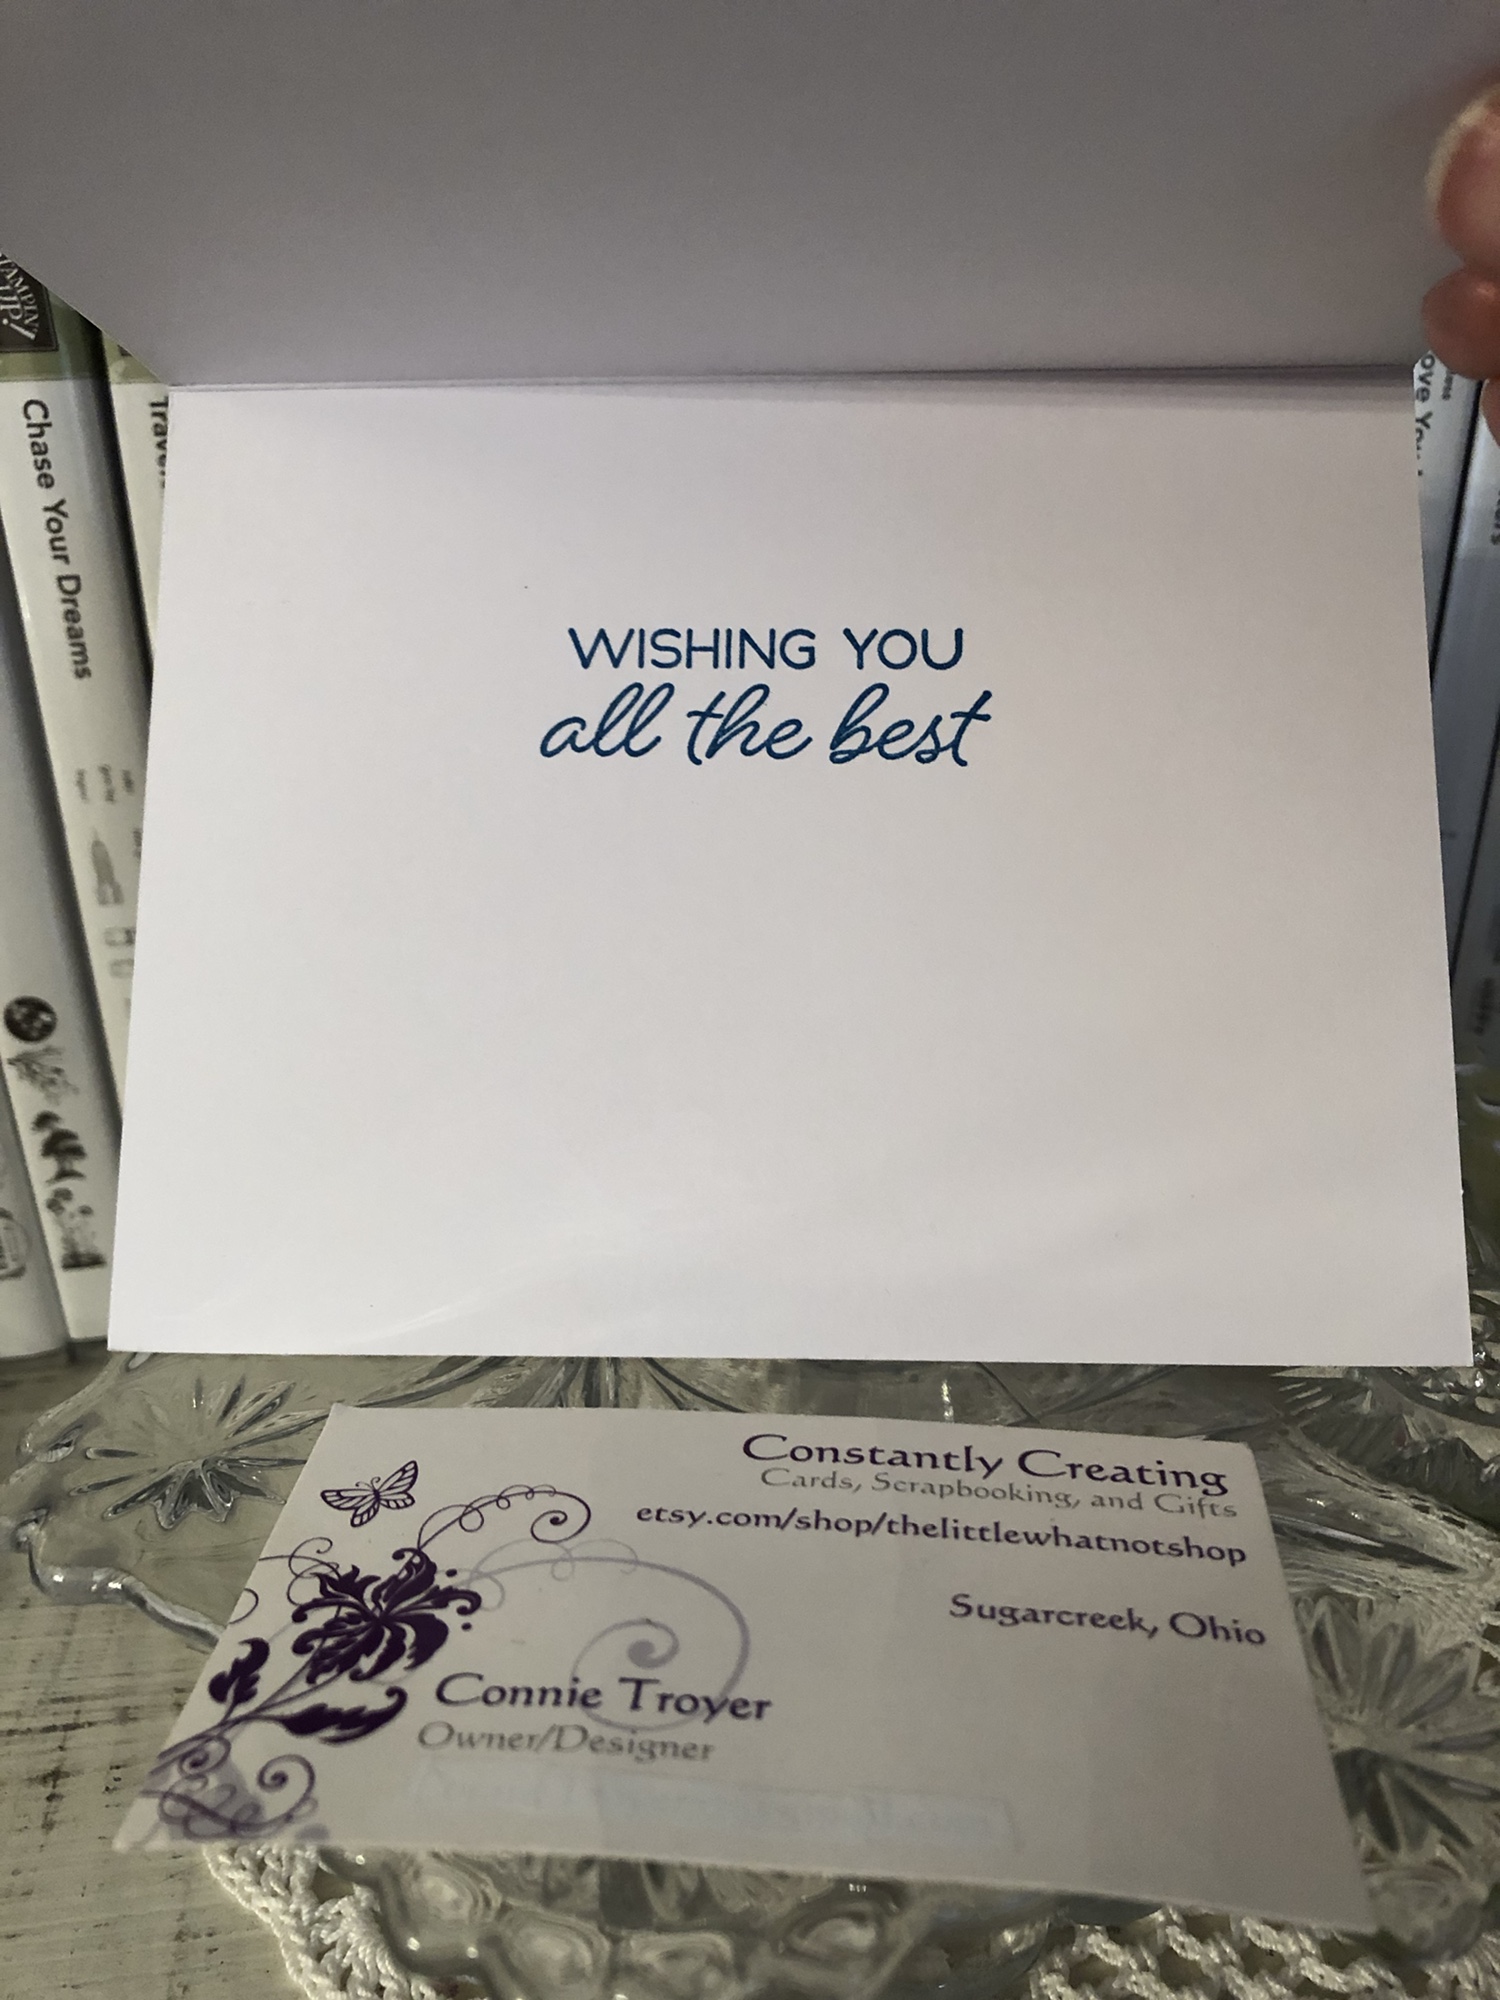
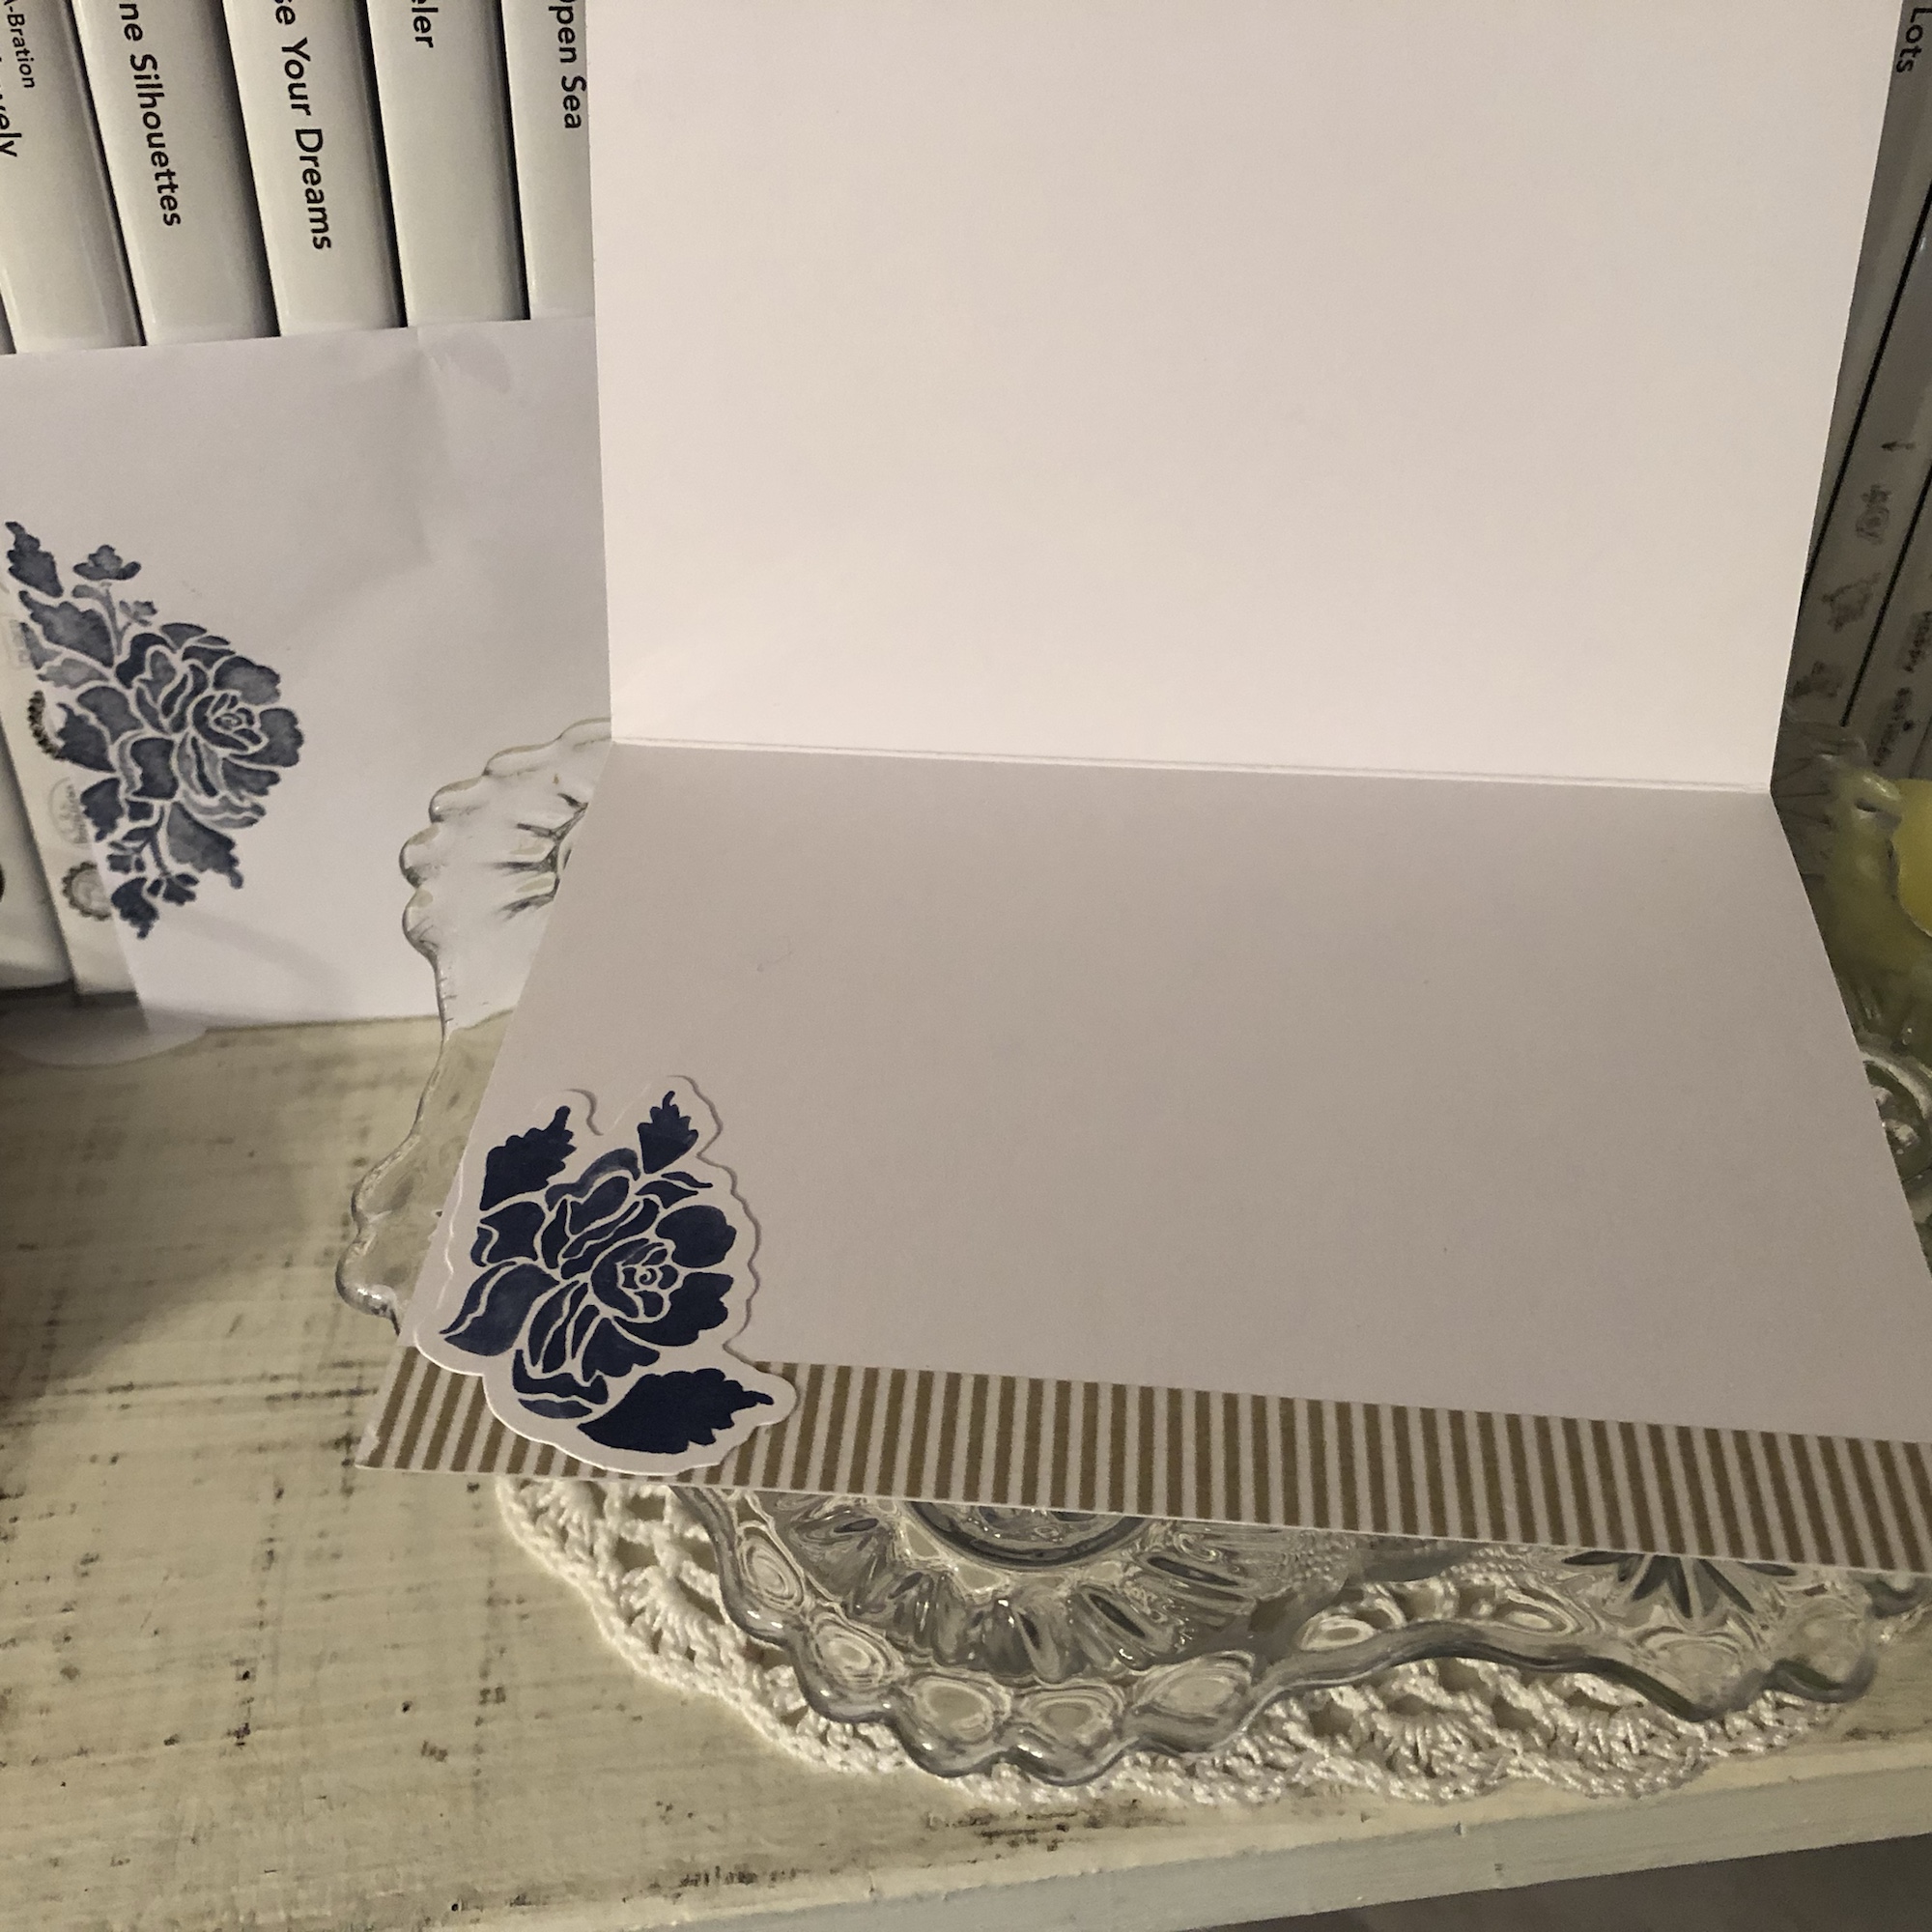
I plan on decorating the inside of the card with a thinner strip of the floral paper and then selling the card to my local gift shop so one of their buyers can encourage a friend or relative too.

I hope you’ve enjoyed my card today. To continue on with the hop, press the Previous and Next buttons or click on the linked names in the list. My team members always come up with inspiring and beautiful projects! Thanks again for hopping with me. If you like this card, please leave a comment or consider following my blog for future posts. 🙂

Thinking of You Card in Blue Roses (Stampin’ Up Embellishments and Paper Pumpkin Sentiment)

Using up a favorite piece of paper with a favorite technique—and it’s so easy that anybody can do it!

Hi, everybody! I’ve had quite a good run on cardmaking lately. I need to be reorganizing my craft room too but can’t seem to stay away from the desk! I know my schedule will be changing soon with springtime, so I’m thankful the creativity is here while it’s here.

One of the challenges I have in my craft room (just a secondary bedroom) is the amount of stuff—consumables like paper, embellishments, and more—due to the number of years I’ve been crafting (paper crafting for about 30 years now; other types, longer). I do confess: I LOVE paper and embellishments. I love having just the right special little thing to add to a card or scrapbook layout to top it off and make it perfect (or as perfect as the receiver will believe it to be 😉). And don’t even get me started on all the beautiful patterns and color choices I have in paper.

Sadly, as my “collection” grows and I fight losing space within four walls, I find myself striving more earnestly to use up my consumables to gain space. I’m not sure this will really work, considering how little room a few pieces of paper and gems take 😆, but I’m going with that for now in an attempt to feel as if I’m progressing somewhere. But that theory is why I made the card I’m sharing today.

I don’t actually know the name of the company who made today’s beautiful background. Sometimes I get papers from other crafters in destashes or swaps or RAKs (Random Acts of [Craft] Kindness). I had only two pieces of this one and always thought them beautiful but I’d moved them around a few times—in and out of the “make these next” piles of card parts, different storage options, and the like. The day I made this card, they moved from “make this sometime” to “make this NOW.” The design was too pretty to put off any longer. But I wasn’t sure what I wanted to do with it (the very reason, I suspect, that I kept moving it around in the first place). I first made a card base out of Stampin’s Up’s Misty Moonlight cardstock (item #153081), which matched the roses perfectly, while I continued to think. I use their cardstock for 99% of my card bases; this color is the regular 80-lb weight.

I must have had 3D things still in my subconscious after making the bird/flower card from a UK magazine kit in a previous post, because I was suddenly willing to sacrifice BOTH pieces of this pretty paper. I latched onto an idea of popping up some of the roses from one sheet on foam dots to give them dimension and make them 3D on the actual card. I cut out the two trio bunches for this and used Stampin’ Up’s self-adhesive Dimensionals underneath (item #104430, current). And then I used my Wink of Stella White and Clear glitter pens on top of all the lightest blue roses, because it’s been my go-to thing lately. I recently opened a new Clear one (item #141897, current) and am loving the amount of glitter it puts out. So fast and easy with an “Ooh, pretty!” punch. 🙂 The White one gives a nice whitewashed look (I only used it on the centers), but I didn’t think it was dramatic enough since the roses were already sketched with white too. It just softened the middles a little.

I was arbitrarily chatting while making this card (“Attempted Multitasking” is often my middle name), so I wasn’t feeling like complicating things further by sorting through my stamp sets, finding a sentiment that fit, hoping to ink and stamp the thing properly in between the dimensional roses—I needed more fast and easy. And then my eyes fell on some recent Paper Pumpkin sets I have stacked nearby. (Yes, Connie should make an effort to use these up more quickly—it will save space! 😂) I hadn’t even opened February 2021’s “Bouquet of Hope” kit yet but I thought there was something in there (consumable) that I could use, from what I was remembering from the promo pictures. Sure enough, sentiments in three languages, in die-cut sticker form. Perfect. And the English one even fit. No mess, no fuss, and I could nestle it into place without worrying about accidentally inking up 3D roses.

I decided to cut apart the “of” and “you” words because I didn’t like how close to the edge the “you” was falling, right where a right-handed person would hang onto the card. But what to do to make everything fit? Well, I ended up sticking the “of” to the top of the bottom dimensional roses and thinly chopping up Dimensional pads to fit under the part of the “f” that hung over the flower. That was tricky, yes. But it’s possible.

Then, time for embellishments! Stampin’ Up to the rescue again (and more gems used up!). I have previously hesitated on adding the Matte Black Dots (item #154284, current) to the top layers of my projects because they’re about 1/8” thick and I often “card” in layers, stacking things even higher. But here I could use them on the bottom layer without fear because the top layer would be against the envelope. 😁 I also scribbled some fake black dots onto the topmost rose trio since I didn’t want to chance them poking through the envelope when mailing. I used my black glitter brush from Art-C for that (very similar to Wink of Stella). I also added three champagne-colored gems from the Elegant Faceted Gems pack (item #152464, current) to the bottom layer to pick up the yellow/gold tones of the smaller flowers in the background. And that took care of the outside of the card.

I kept the inside even simpler. I have several ongoing card orders to fill all the time these days, and one is for a lady who likes a simpler style. (That’s hard for me, but she’s helping me learn it!) I did think of her while making both the outside and the inside of the card, wondering whether she would want it, so I deliberately left the inside blank with just a strip of leftover background paper at the edge of miscellaneous white writing space (a substitute would be Basic White cardstock, item #159276, current).

Connie Troyer, ConstantlyCreating.Me

And now I’ve used up all that pretty paper. But it was worth it. 😍

Here are the links for what I’ve used in today’s post:

Product List

If you’d like to own any of these Stampin’ Up products yourself, you can go to my online store and shop with me at http://www.stampinup.com?demoid=2202334. The retiring list for the current Annual catalog hits this Wednesday!! Lots of good stuff coming! (But the Mini is still active until May 3. 😉) Contact me if you’d like paper catalogs instead. 🙂 You can also use Host Code WMW62ECS during checkout and receive a free gift! Orders totaling $50 before tax and shipping can choose a free gift from me up to $8 retail value; I’ll ship it separately to your preferred address after the order is placed. You’ll also earn 1 reward point toward a total of 8, which will get you a free $40 order from me. (And once you hit 8 points, the counter starts over!)

If you’d like to join a Stampin’ Up team and become a demonstrator yourself, I’d love to have you! I’m working on achieving some “leveling up” requirements and would be thrilled to have someone new! No pressure about sales amounts from me, ever. I know what it’s like to lead and juggle a busy life around many priorities. If you’re interested, contact me any time or check out my joining link at http://www.stampinup.com/join?demoid=2202334.

Check back on Wednesday for the 2020-2021 Annual retiring list! And thanks for stopping by. 🥰

Birthday/Celebration and Thinking of You Cards with the Sale-a-Bration Kerchief Card Kit for Stamp with Amy K’s Sunday Blog Hop

Birthday and Thinking of You cards made with the Kerchief Card Kit available for free only during Sale-a-Bration with Stampin’ Up!

img_9128

Thanks for joining me on my blog today! I have to start off with an apology and a correction; this blog post is for Amy’s Tuesday Blog Hop, not Sunday’s. I was thinking of the day I had to post the link! And now I can’t change it…. More proof that I’m not perfect, I suppose. 🙂

So, for the Tuesday Blog Hop, which is going with a birthday theme this month, I decided to make up the Kerchief Card Kit, which is available as a Sale-a-Bration reward for spending $50 before tax and shipping. It had been backordered, but I got it in on Saturday and sat right down to put them together. I’m still making cards for sale for my local gift shop in Amish Country, so this set is perfect to do up for them. I plan on ordering a second kit and selling them in sets of five and some singles, using our Acetate Boxes and some card jackets.

I decided to go with this kit for the birthday blog hop because of the included “Celebrate Today” sentiments, planned for the Coastal Cabana rose cards. (The Poppy Parade kerchief cards have “Thinking of You” sentiments.) I adore the blue cards (and its gold foil-dotted vellum!) because of the colors and style, and the red cards were simple and fun to put together as well (also with vellum, but plain). I also really liked the thicker twine included in the kit, and I hope I see more of it in the future. I was pleasantly surprised and pleased to note that there is no stamp or ink spot in the set; the sentiments are already printed and included as die-cuts, ready to be added to the cards. It made the work go much faster—and yet still allows me creativity to add whichever sentiments I see fit for the insides of the cards.

The picture above only shows four of the eight cards in the A2-sized kit because I made two of each of the cards shown. On the blue Coastal Cabana cards, I popped up the rose and sentiment on two of them and left the other two roses flat; I also put two bows up and away at the right and two at the lower left bottom, for variation.

I changed the placement of the gold leaves on the Poppy Parade cards, two being centered and two being placed at a diagonal the way the kit shows. I also changed the location of the bow, not placing them under the tag as in the instructions. I actually even put the bow on top of one of the tags, which is not reflected here.

I finished the cards by adding sequins from the retired Love Blossoms Kit, as I thought the gold, white, and Blushing Bride colors matched well.

When I considered sentiments for the insides of the cards and looked through my current stamp sets, I found four that will work nicely for wedding or anniversary, general celebrations, or celebrating a special person or a special day that may or may not be love relate. Though they’re not stamped on the cards yet, I plan on using “Be strong, be happy, be you” from Rooted in Nature; “Wishing you the best on your special day” from the Perennial Birthday set; “Hoping you experience love and joy today, tomorrow, and always” from the Last a Lifetime set in the Mini catalog; and “Here’s to always finding joy in one another’s laughter, warmth in one another’s embrace, and love in one another’s lives” from Path of Petals. I think the “celebrate today” cards could also be used as graduation, retirement or promotion, even the birth of a baby or baby shower, and more occasions as well, if you didn’t feel the need to use the standard icons of the event. They would work fine as blank cards too—celebrating life or spring or no reason whatsoever!

Free with your purchase, the kit is a good investment. Quick to make up and easy to have a few cards on hand or to give as gifts, it’s one that will appeal to many (if for convenience’s sake if nothing else!), and the cards are lovely to boot. They’re also very easy to adapt to other styles or make into alternate designs. The envelopes are all lined with either Balmy Blue or Petal Pink and make a nice “wow” moment when they’re opened as well.

I’ll leave you with a close-up of my favorite card in the stack. 🙂 Please be sure to scroll down and “hop” through the rest of our list of participants so you can see the special birthday cards they created. We have a fantastic, creative team! If you are needing Stampin’ Up supplies, catalogs, or a consultant, I’m happy to help you out with any. You can use host code WAA2PGYR until February 16 when you check out. Thanks again for stopping by!

NextPrevious

  1. Jaimie Babarczy – https://wp.me/p79UhD-3B4
  2. Connie Troyer – You are here!
  3. Akiko Sudano – https://wp.me/paOv8E-Qx
  4. Mary Deatherage – https://wp.me/p5snyt-btg
  5. Karen Ksenzakovic – https://wp.me/paaNf4-1DA
  6. Leslie Larkin – https://leslielarkin.com/birthday-with-the-peaceful-moments-bundle/
  7. Sue Prather – https://wp.me/p5yitZ-1KD
  8. Julie Johnston – https://wp.me/p8SzmQ-2hu
  9. Karen Finkle – https://karenscardkorner.blogspot.com/2020/02/stampin-up-young-at-heart-for-amys.html
  10. Amy Koenders – https://wp.me/p2SFwf-iuS

April 2019 Sentimental Rose Paper Pumpkin

I enjoy these Paper Pumpkin kits more and more as I receive them each month. The kit for April 2019, “Sentimental Rose,” is simply gorgeous. The kit makes nine cards, three of each designs, with all accompanying pieces and parts and stamp set so you can make the cards as shown or change them however you like. This kit also comes with an acetate card box you can decorate and store your cards in or give them together as a gift set.

Sentimental Rose instruction sheet

The stamp set included with the Sentimental Rose kit.

Kit pieces (what I haven’t used yet).

Two of the three kinds of included envelopes, with fun liners too!

I made up one kind of card in the kit so far (all three cards of that type). It was the design I liked the best. I used one for my sister-in-law’s Mother’s Day card and have the other two going for sale once I add inside sentiments to them.

Sister-in-law’s Mother’s Day card

The inside of the Mother’s Day card

These kits are always so easy to create and give joy and satisfaction at making (and finishing!) something beautiful quickly during busy days. I was watching a movie with my husband when I made the box and the three cards I’ve completed so far. Can’t get much simpler than having the pieces already cut out and provided. 🙂

It’s time I go finish the other six cards. Best wishes to you and your families on this Mother’s Day, regardless of the emotions this day brings for you. Personally, it’s usually a hard one here, so I’m going to craft today and conveniently forget what day it is on the calendar. At least I can make beautiful cards, if nothing else, and tomorrow will be here soon enough.

If you are interested in receiving your own subscription to Paper Pumpkin, you can purchase a prepaid version from me here (you can choose from one month, three months, six months, or a year), or you can choose to be billed each month. Either way, I appreciate your business!

We are wrapping up the 2018-19 annual catalog as well—only a couple of weeks left! Ordering in the new catalog will begin on June 4. You can grab some of those remaining goodies at my online store here (stamps are available until May 24; everything else is while supplies last!).

Thanks again for stopping by my blog. Please feel free to email me if you need something!

Connie

Cards from the Designer Tin of Cards Project Kit

Some cards from the Designer Tin of Cards Project Kit – quick and easy cards with a bit of variation.

Hello again. 🙂 I’ve had interest in a blog post about one of my birthday cards, so I thought I’d do up a quick blog post about it and a couple of others I made from the same kit.

The kit in question is the now-retired Designer Tin of Cards Project Kit from Stampin’ Up. When I was on vacation this past summer, I took an evening and mainly made up the cards the way the kit suggested, with little variations to the cards here and there. I didn’t add the sentiments at the time because I wasn’t sure what I would need them for and I didn’t have all my options in front of me anyway. So little by little I’ve been picking out of the batch and finishing them to send as needed, with some still waiting.

All my blue-and-white-and-gold ones have gone to the local gift shop for sale, and they had different sentiments. I used one of the masculine looks for my dad’s birthday. I used the banners/garlands base for another relative’s birthday and added some llama and cactus paper elements from a UK magazine I had with me. (I still have two of those bases to create with, actually.) I sent at least one of the coral hibiscus cards to the gift shop, and one went for a friend’s birthday. I used the “Celebrate Your Day” and “Sending Love” sentiments from the coordinating stamp set. I still have two coral and one masculine card to sentiment yet.

I didn’t used to be very fond of the kit idea in general because they’re usually too simple for my preferred style of details. But as I get busier, I have seen how useful they can be for when I want to send a handmade card but haven’t had extra time. Also, now that I’m constantly making cards for the gift shop, it’s been nice to fall back on ones that are faster and easier to make without taxing my design skills. I’m beginning to let go of the need to have everything perfectly perfect and just the way I like it. I simply don’t have enough time to keep up with all I’d like to do in this life. They need cards, so I must make them and not fuss around. Besides, some people really prefer the simpler, “to the point” cards rather than all the detail and fluff I like, so this way I hope to reach a bigger audience in interest. 🙂 For ones I send personally, I like to create cards with the recipient in mind. But for the shop, I don’t know who is buying them or who they are for. So the kits are beginning to work for me there. (And if any of the kits make it to the clearance rack, they’re even cheaper, which I also like.)

The kit coordinates with the Designer Tin of Cards stamp set, which I used for a few of the cards but not all. It was supposed to be used to make a filing system of cards on tabs, with the tin to hold everything, but I chose to use the sentiments rather than the tabs.

I’ve added in some of the finished cards as examples for you to see what the kit was like. Evidently I didn’t take all the pictures I should have. 🤦‍♀️ But if I find other pics, I’ll update the post with them.

The Designer Tin of Cards stamp set.

Sentiment from the “Birthday Wit” stamp set, with Pacific Point ink, gold sequins, and gold washi tape.

Sentiment from Blended Seasons stamp set, with Night of Navy ink.

Unbranded happy birthday die with blue-and-white card base, vellum, gold-edged tag, gold sequins, gold washi, white twine, and a blue flowered die-cut all from the kit. I stamped the flower on the envelope with the coordinating Floral Phrases stamp set in Night of Navy ink.

Blue flower die-cut and gold washi tape from the kit.

The only additions to the kit here were the Martha Stewart cake sticker and the gold-foil sentiment from a Spellbinders die. The kit even included paper clips!

Ink is Night of Navy. Stamp is from MSE.

In this gift-shop pic, one of the other blue-and-white ones can be seen with the sentiment “Best Wishes” in gold foil. The die is from a UK magazine. (Two other “kit cards” are also in the picture.)

Thanks for reading! If you have any questions about how I created something, just leave me a comment. 🙂 And stay tuned for another blog post about a “love” card for a blog hop. 🙂

If you need any papercrafting supplies, I’d be happy to become your Stampin’ Up Demonstrator! My direct store link is in my blog sidebar.

May your day be a happy one!

Petal Pink Laser-Cut Paper (OCC 2019) and Upcycled Peach Rose Sympathy Card

While it seems like all I am making right now, when I have time to get into my craft room, is wedding, baby, bee, and lemon cards (for the gift shop and a custom order), I’ve been needing to do up another sympathy card as well. I rarely have a chance to make anything for my friends and family besides birthday and sympathy, to be honest, and those never stop coming. And although it was in the back of my mind to make a sympathy sooner rather than later, this card sort of fell together by accident.

The gorgeous sage green/peach/vanilla/white matted rose piece was in the last RAK I received from a crafty friend. I think it is a piece that came from a mass-produced card and was upcycled, because the leaves are even made of gold embossed foil. It really is beautiful. I had laid it aside because the mat was coming up and looked a tad larger on one side. One night I fixed it and absentmindedly put adhesive on the back before I realized I hadn’t prepared anything for it to go on…so I kept shuffling it around my desk for a few days, upside down so it wouldn’t stick to things. 🙂

I was actually searching for papers for another wedding card when I spotted my new pack of Petal Pink and white Beautifully Detailed Laser-Cut Specialty Paper” (148812, $14) that is in the new 2019 Occasions catalog (orderable as of January 3)–and it matched perfectly with the rose piece I had just moved…again. (The specialty paper pack includes eight sheets, four each of two design types. One type is a full 12×12 sheet that looks like filigree swirls, and the other type is full of elegant sections that can be cut into card fronts, borders, or accents.)

Once I confirmed that the pieces matched, I carefully cut away one of the card front pieces that looked the best when I placed the rose on top of them to test them (on top of the plastic bag holding the specialty paper, since I already had adhesive in my way). Then I found a piece of Thick Very Vanilla cardstock, cut it in half, and scored both, using one as my card base. And then I laid more adhesive on the back of the rose piece, just in case, before adhering it first to the laser-cut paper and then to the card base. The laser-cut paper I chose has a large opening in the middle, which the edges of the green mat just barely covered on the sides, so the adhesive went right through to the base.

I almost left the borders of the specialty paper free without gluing them, but I was afraid they would get creased since they’re so delicate, even though they’re a good weight. So I did take a bit of my Art Glitter fine-tip glue to tack down the corners in the thickest part and occasionally on the sides just to keep it from catching on something.

I kept the inside simple with a stamp from the retired Thoughts and Prayers stamp set from SU, and I used Grapefruit Grove ink because I thought the paper was the same color until I checked it tonight (oops!). I may go back and add one of the border pieces of the specialty paper on the bottom, but I haven’t decided how much room we will need for the handwritten message of the card.

Be sure and pick up a pack of this laser-cut specialty paper when the Occasions catalog goes live on January 3. There are so many options for creating with it, and it’s simply lovely. Here are other current items I used for this card:

I’m happy to help you order if you need a Stampin’ Up demonstrator. 🙂 You can use the code PNWVCZEU to order through my store (http://www.stampinup.com/ECWeb/default.aspx?dbwsdemoid=2202334) through January 5. (If it is after January 5, feel free to contact me for a new code!)

Thanks for stopping by my blog today!

Embossed Red Roses on White with Rose Wonder Stamp Set

Sometimes simple equals beautiful.

View on Instagram https://ift.tt/2IZg30h
I have a lady who periodically orders cards from me and enjoys seeing whatever creativity comes through, rather than give me specifics on how she wants the cards done. Her style–clean and simple–is sometimes a challenge for me, as I naturally tend to complicate life, but sometimes it’s also really refreshing to not have to overthink every little thing. Sometimes it’s just so nice to find a few simple bits and put them together quickly in a pleasing arrangement–leading me to wonder why I don’t do that kind more often. 🙂 This “embossed red roses” card was one of those for her.
A crafty acquaintance gave me this embossed panel, so I don’t know the designer, but the sentiment, ink color, and baker’s twine are from Stampin’ Up (Rose Wonder stamp set, Real Red ink, and Candy Cane Lane Metallic Baker’s Twine, respectively). I also used Stampin’ Up’s retired Candy Dots Brads and a Thick Whisper White card base. This is one card where I feel like simple still equals beautiful in my book. I later decided to add a little red rose in one of the corners on the inside.
#thelittlewhatnotshop #forstacy #thanks #redroses #embossingfolder #kaisercraft #tagsandshapes #simpleequalsbeautiful #cleanandsimple #duplicatable #debossed
Pat's Blog Site

One place to fit it all!

Stamp Dabbles

Donna Leonard | Independent Stampin’ Up! Demonstrator | Huntsville, AL

Niya Scrap

Démonstratrice indépendante Stampin' Up!®

From Pole to Pole

Adventures in the Land of the Pierogi

Stampin' in the Meadows

Akiko Sudano - Independent Stampin' Up! Demonstrator Downingtown, PA

Creative Stamping Designs

Karen Ksenzakovic, Independent Stampin' Up! Demonstrator in Somerville, NJ Let's make some cards!!

Stamp it up with Jaimie

Helping you find a stress free creative outlet through paper crafting.

Stamp With Amy K

Amy Koenders, Independent Stampin' Up! Demonstrator in Mendham, New Jersey...Let's make some cards!

The Daily Post

The Art and Craft of Blogging

WordPress.com News

The latest news on WordPress.com and the WordPress community.

%d bloggers like this: