Thanks for joining me on my blog today! I have to start off with an apology and a correction; this blog post is for Amy’s Tuesday Blog Hop, not Sunday’s. I was thinking of the day I had to post the link! And now I can’t change it…. More proof that I’m not perfect, I suppose. 🙂
So, for the Tuesday Blog Hop, which is going with a birthday theme this month, I decided to make up the Kerchief Card Kit, which is available as a Sale-a-Bration reward for spending $50 before tax and shipping. It had been backordered, but I got it in on Saturday and sat right down to put them together. I’m still making cards for sale for my local gift shop in Amish Country, so this set is perfect to do up for them. I plan on ordering a second kit and selling them in sets of five and some singles, using our Acetate Boxes and some card jackets.
I decided to go with this kit for the birthday blog hop because of the included “Celebrate Today” sentiments, planned for the Coastal Cabana rose cards. (The Poppy Parade kerchief cards have “Thinking of You” sentiments.) I adore the blue cards (and its gold foil-dotted vellum!) because of the colors and style, and the red cards were simple and fun to put together as well (also with vellum, but plain). I also really liked the thicker twine included in the kit, and I hope I see more of it in the future. I was pleasantly surprised and pleased to note that there is no stamp or ink spot in the set; the sentiments are already printed and included as die-cuts, ready to be added to the cards. It made the work go much faster—and yet still allows me creativity to add whichever sentiments I see fit for the insides of the cards.

The picture above only shows four of the eight cards in the A2-sized kit because I made two of each of the cards shown. On the blue Coastal Cabana cards, I popped up the rose and sentiment on two of them and left the other two roses flat; I also put two bows up and away at the right and two at the lower left bottom, for variation.
I changed the placement of the gold leaves on the Poppy Parade cards, two being centered and two being placed at a diagonal the way the kit shows. I also changed the location of the bow, not placing them under the tag as in the instructions. I actually even put the bow on top of one of the tags, which is not reflected here.
I finished the cards by adding sequins from the retired Love Blossoms Kit, as I thought the gold, white, and Blushing Bride colors matched well.


When I considered sentiments for the insides of the cards and looked through my current stamp sets, I found four that will work nicely for wedding or anniversary, general celebrations, or celebrating a special person or a special day that may or may not be love-related. Though they’re not stamped on the cards yet, I plan on using “Be strong, be happy, be you” from Rooted in Nature; “Wishing you the best on your special day” from the Perennial Birthday set; “Hoping you experience love and joy today, tomorrow, and always” from the Last a Lifetime set in the Mini catalog; and “Here’s to always finding joy in one another’s laughter, warmth in one another’s embrace, and love in one another’s lives” from Path of Petals. I think the “celebrate today” cards could also be used as graduation, retirement or promotion, even the birth of a baby or baby shower, and more occasions as well, if you didn’t feel the need to use the standard icons of the event. They would work fine as blank cards too—celebrating life or spring or no reason whatsoever!
Free with your purchase, the kit is a good investment. Quick to make up and easy to have a few cards on hand or to give as gifts, it’s one that will appeal to many (if for convenience’s sake if nothing else!), and the cards are lovely to boot. They’re also very easy to adapt to other styles or make into alternate designs. The envelopes are all lined with either Balmy Blue or Petal Pink and make a nice “wow” moment when they’re opened as well.


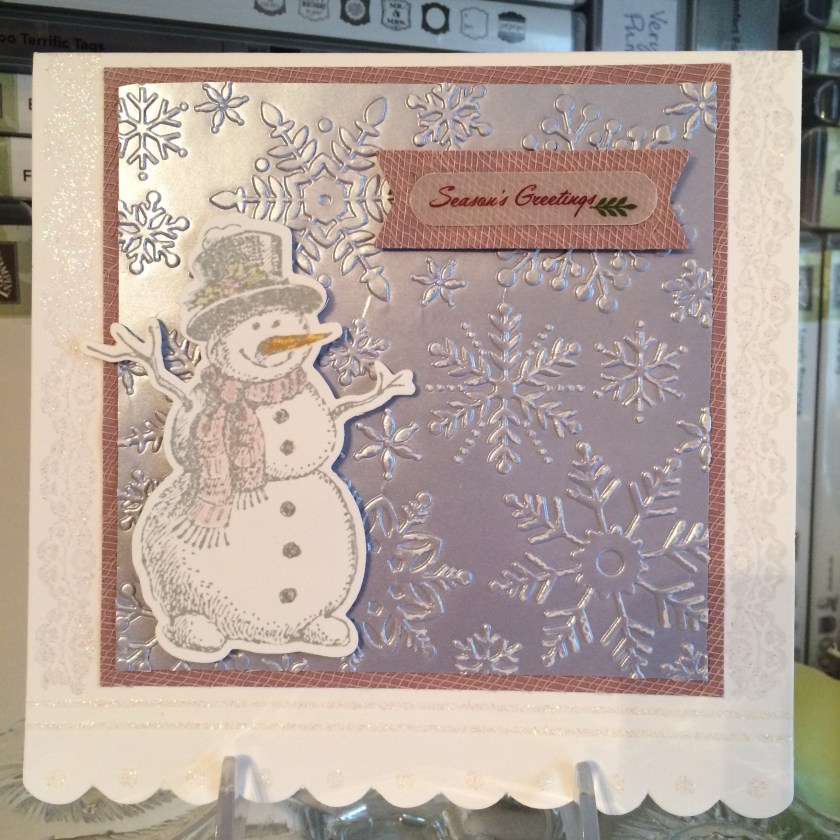
I’ll leave you with a close-up of my favorite card in the stack. 🙂 Please be sure to scroll down and “hop” through the rest of our list of participants so you can see the special birthday cards they created. We have a fantastic, creative team! If you are needing Stampin’ Up supplies, catalogs, or a consultant, I’m happy to help you out with any. You can use host code WAA2PGYR until February 16 when you check out. Thanks again for stopping by!

- Jaimie Babarczy – https://wp.me/p79UhD-3B4
- Connie Troyer – You are here!
- Akiko Sudano – https://wp.me/paOv8E-Qx
- Mary Deatherage – https://wp.me/p5snyt-btg
- Karen Ksenzakovic – https://wp.me/paaNf4-1DA
- Leslie Larkin – https://leslielarkin.com/birthday-with-the-peaceful-moments-bundle/
- Sue Prather – https://wp.me/p5yitZ-1KD
- Julie Johnston – https://wp.me/p8SzmQ-2hu
- Karen Finkle – https://karenscardkorner.blogspot.com/2020/02/stampin-up-young-at-heart-for-amys.html
- Amy Koenders – https://wp.me/p2SFwf-iuS

